
9 Assembly Preperation
Start Off Right with a Few Basic Steps
Ryan Haffner
First Steps
The first step when building a PC is to ensure you have a clean, clear space to work. Especially important is good lighting, as seeing inside the hard to reach areas of the case is a lifesaver when a screw goes missing. I also like to lay out of soft surface, like a blanket or towel to prevent both my PC and the surface I’m working on getting scratched. Finally, it is important to use some form of static protection. Static electricity can in very rare circumstances build up enough energy to damage electrical components. While very rare, it is easy to prevent this. Use an anti-static wristband, or simply touch a grounded surface before touching any components.
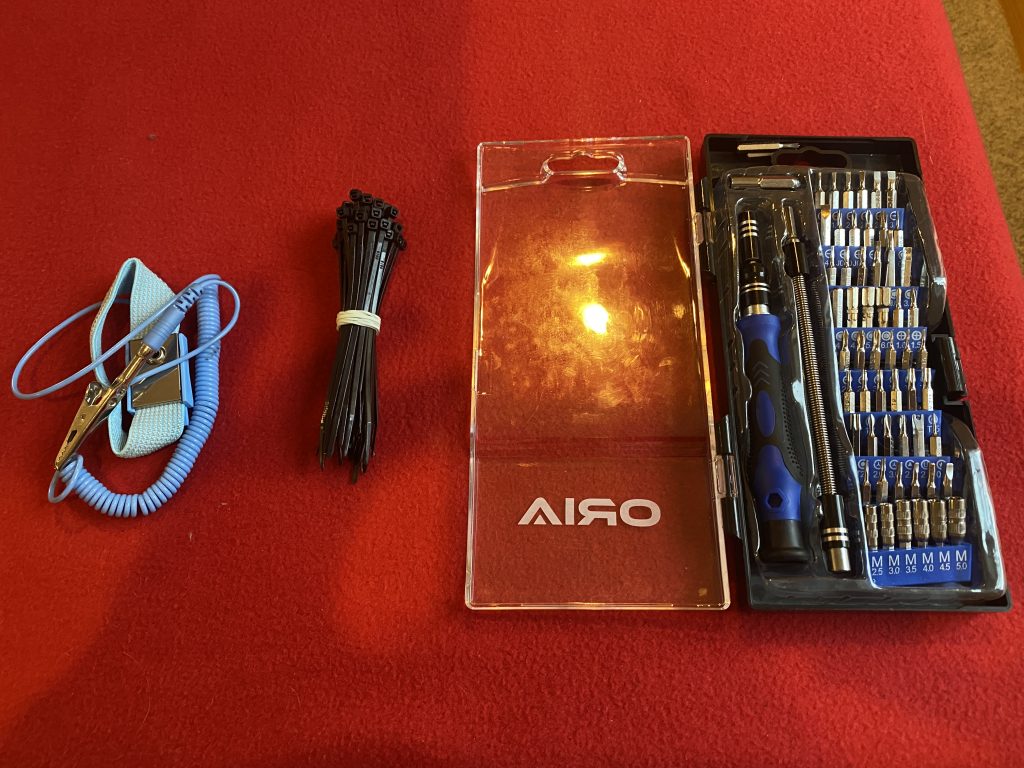
Tools
The tools necessary to build a PC are surprisingly limited. A multi bit screwdriver set is most important, and sometimes all that is necessary! For builds with many cables (like mine) some cheap, short cable ties can save a messy bundle of cables. Finally, for the additional peace of mind I always use an anti static wristband, pictured here.
Testing
When building a new system, always test your components outside of the system before putting anything in the case. Finding out you have a dead-on-arrival CPU after the whole system is assembled is a massive waste of time, and in rare cases can void your warranty! To do this, find a non-conductive surface (the box the motherboard came in has become the de facto industry standard) to plug in your power supply, motherboard, CPU, GPU and RAM. If the system spins up and outputs anything to a monitor, you know your components work and we can begin!