
10 Final Assembly
Prepare the Motherboard for Installation
Ryan Haffner
Why Motherboard First?
Almost every build guide out there starts at the same place: the motherboard. The general rule of thumb is to attach as much as possible to the motherboard before putting in in the case. If you tested your components outside of the case as I suggested, good news! This step is nearly done! The reason we start with the motherboard is because when installing many components, space is an issue. It is much easier to install components outside of the case, so it stands to reason we try to accomplish as much as possible here.
1. CPU Installation
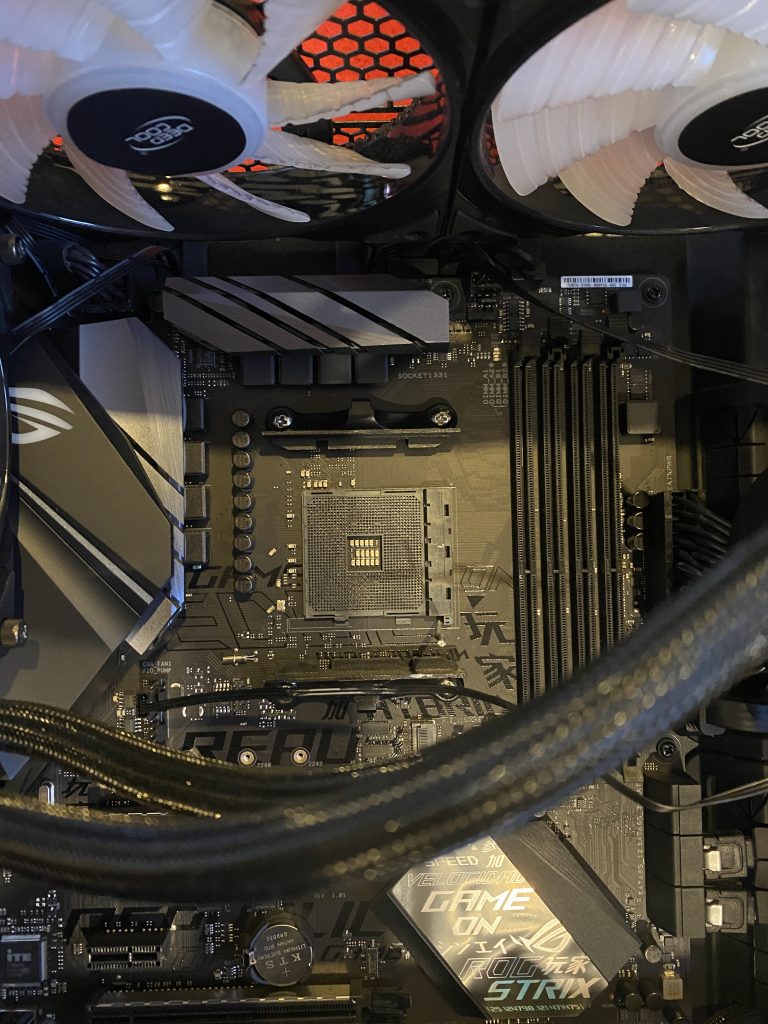
First, locate the CPU socket. This will be square, and will likely be near the top-center of the motherboard.
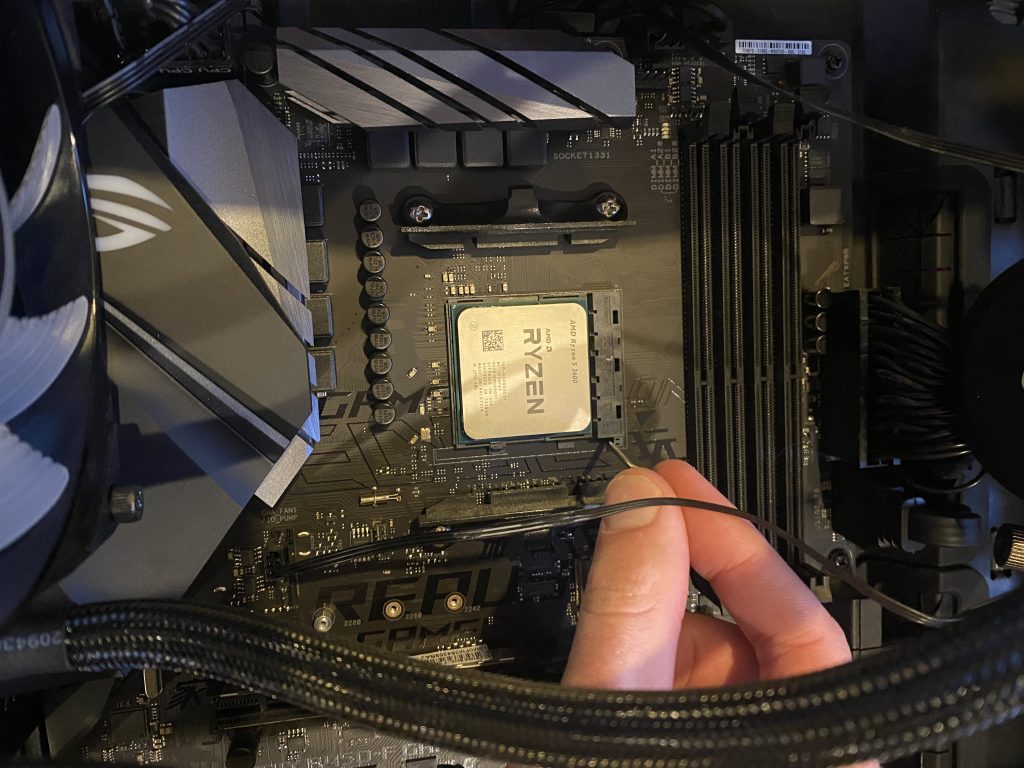
Next, place the CPU in the socket, using no pressure whatsoever. When aligned properly, the CPU will fall in place securely. Note the little bar I am holding in my right hand, we will use it in the next step!
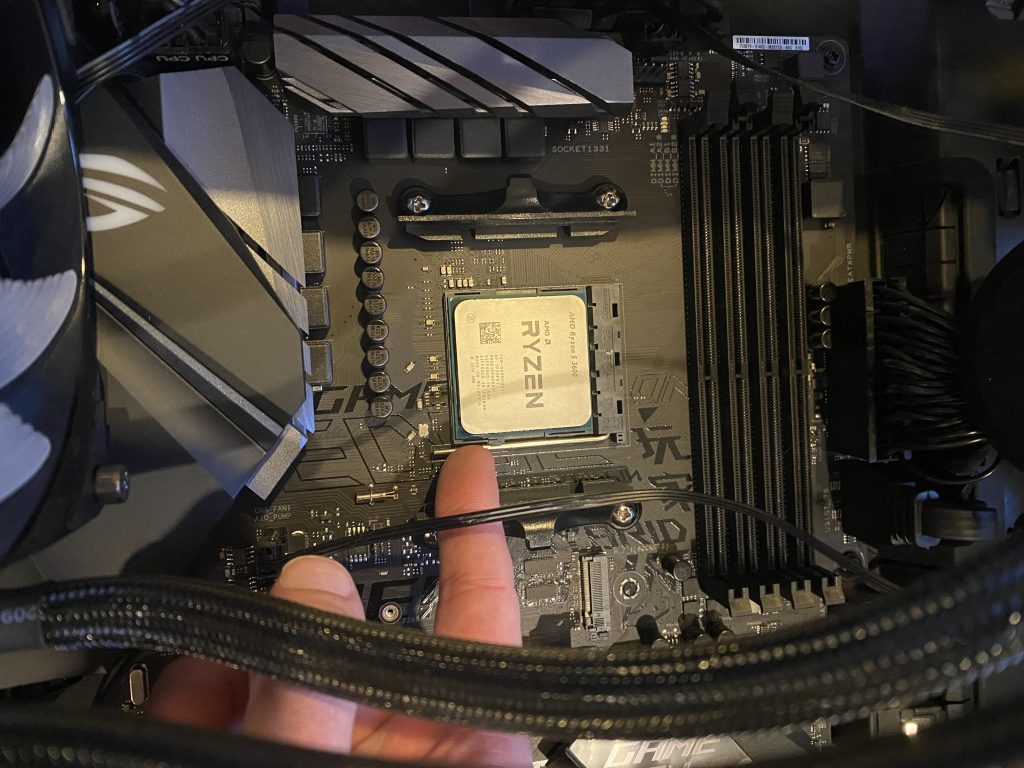
Gently bring the metal bar down to meet the motherboard. This will require a small amount of pressure, and ensure the CPU is making solid contact with the motherboard
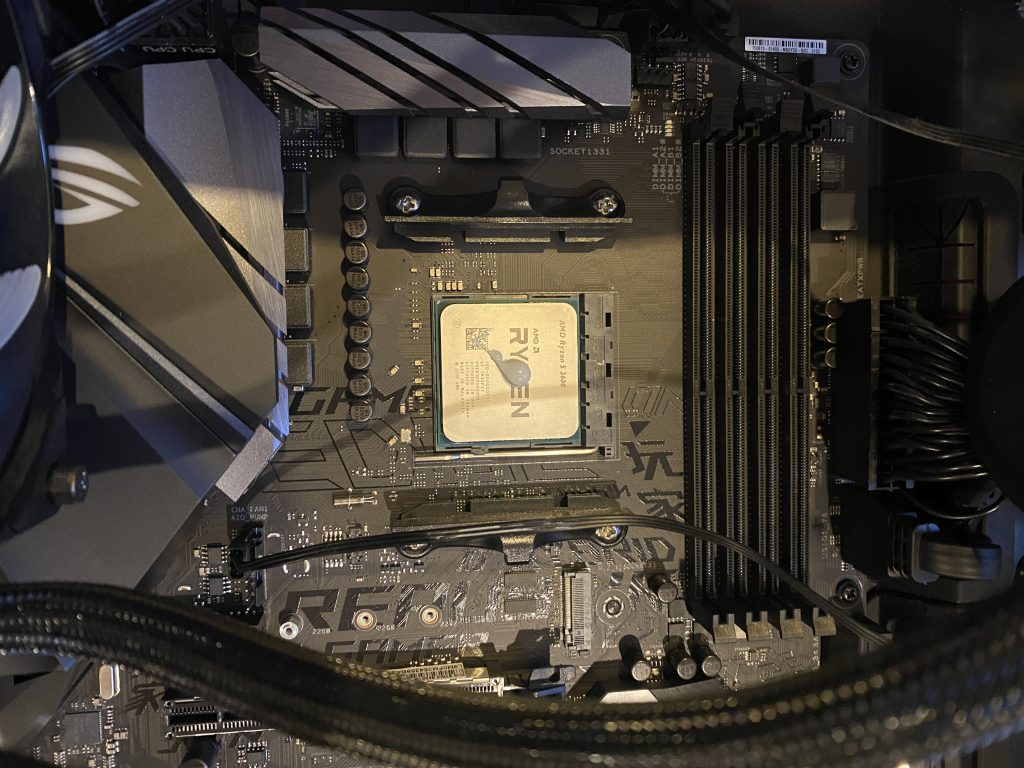
Next, apply a small amount of thermal paste. Thermal paste ensures the CPU coolers is affixed to the CPU as efficiently as possible, and allows the best possible transfer of heat. The correct application of thermal past is a divisive topic in the PC world, but generally a pea sized drop is adequate. Unless you add so much it spills out onto the board, there is no one “right” way to do this.
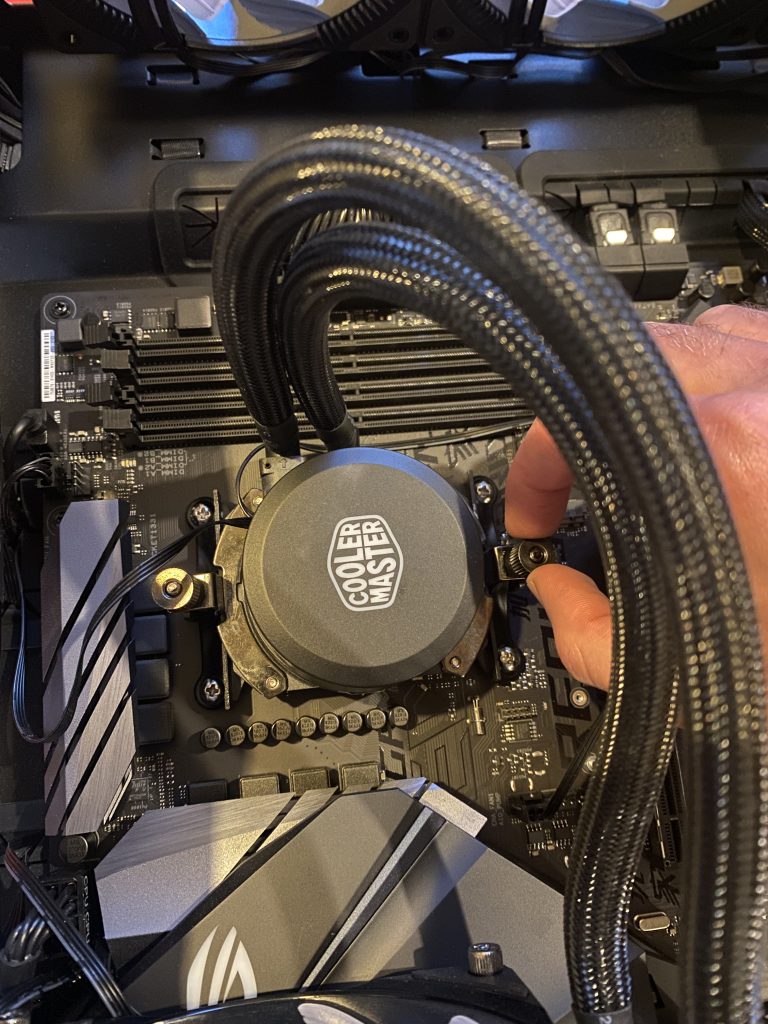
Finally, attach your CPU cooler. These come in many shapes and sizes, so refer to your manual on the correct installation process. Mine, for example, uses thumb screws for tool-free installation. There is one rule that rings true for all CPU coolers, however. Do not use too much pressure. The CPU doesn’t need to be fastened securely to the board. Instead, as long as the tiny pins on the bottom of the CPU are touching the motherboard, all is well.
2. RAM Installation
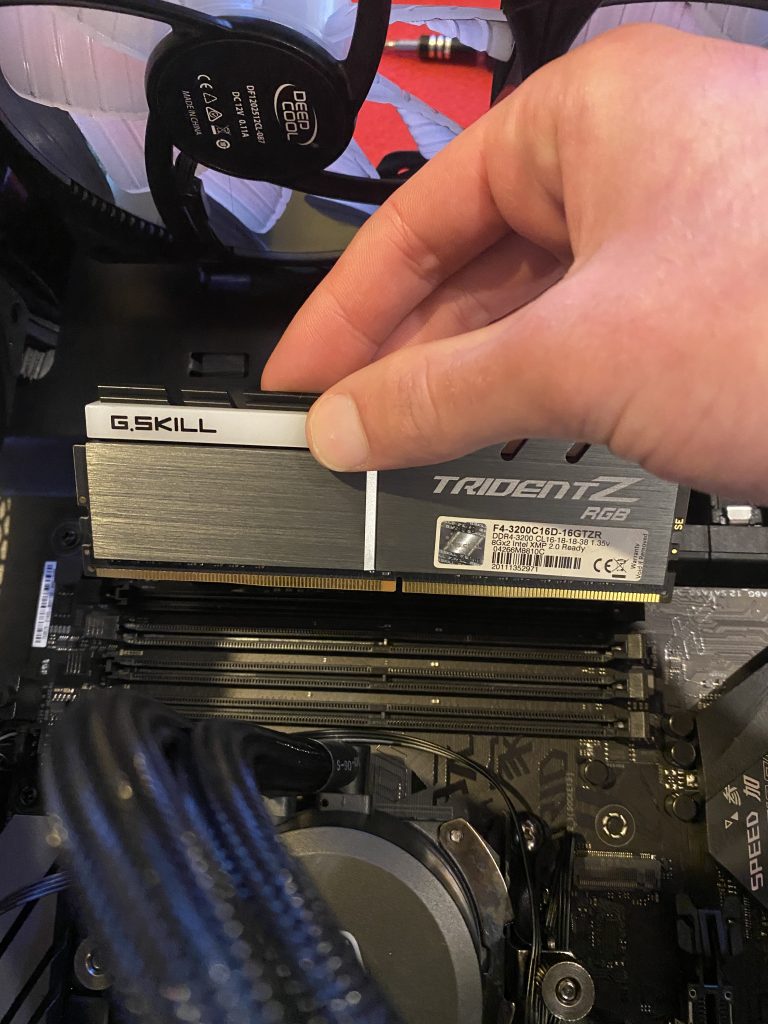
Next, we install the RAM. This is much simpler than the CPU, and there’s only one way to install it correctly. First, locate the “notch” on the bottom of each stick. This will line up with a “bump” on the motherboard. In the picture, the notch and bump are visible towards the center.
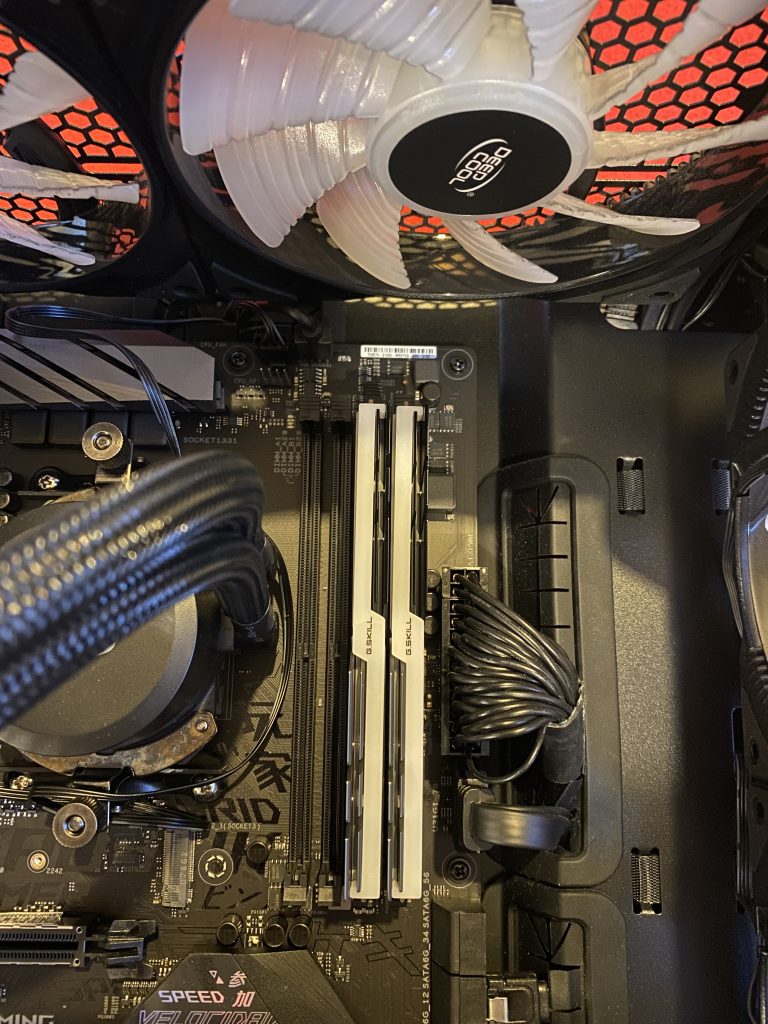
Remember our discussion on single vs dual channel? Here is where we ensure we have our RAM running in dual channel mode. In the image above, the RAM sticks are installed right next to each other. While this may look like a logical way to place the ram, never install two RAM modules next to each other. It won’t hurt the system, but can nearly halve your memory’s performance!
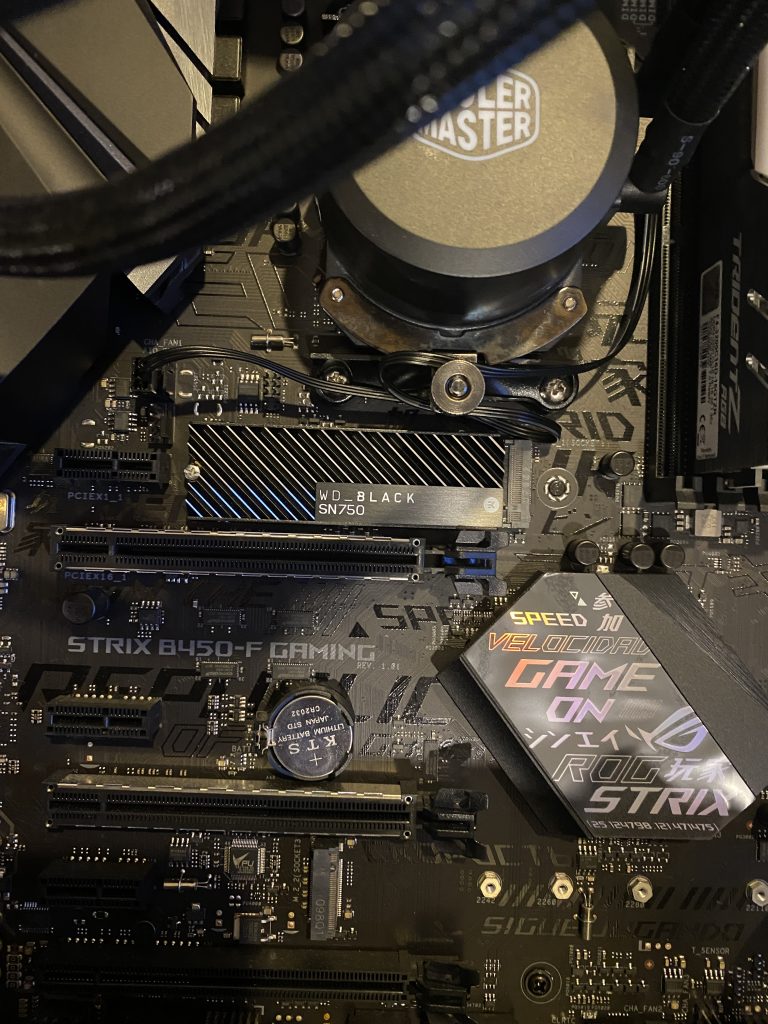
3. SSD Installation
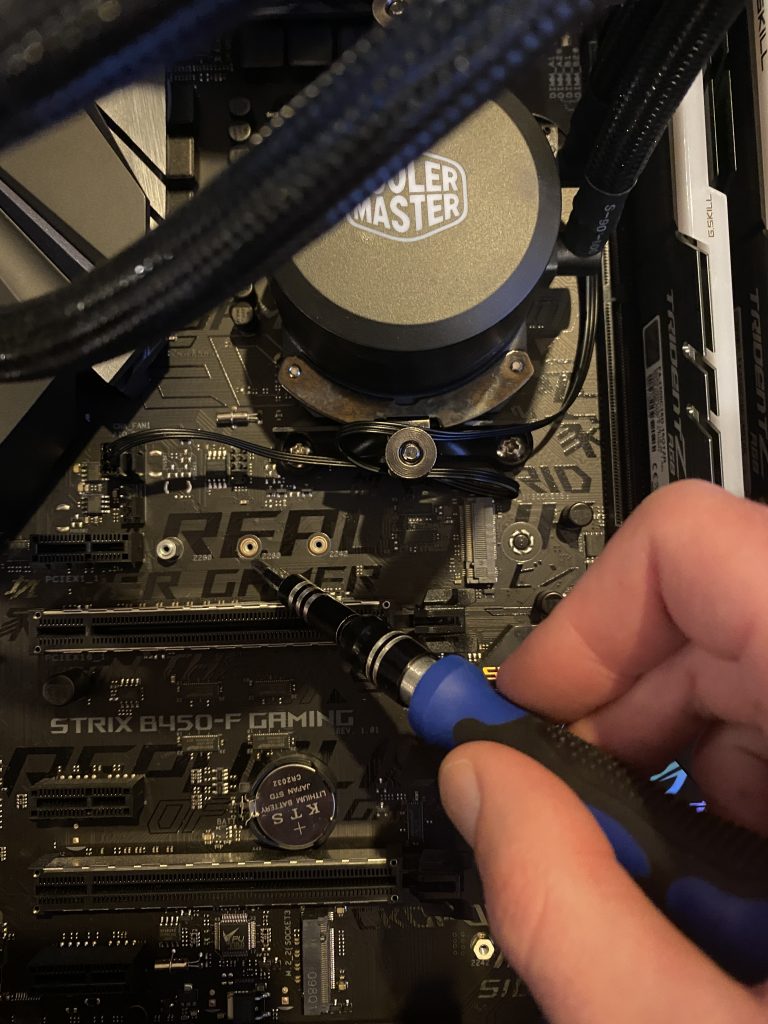
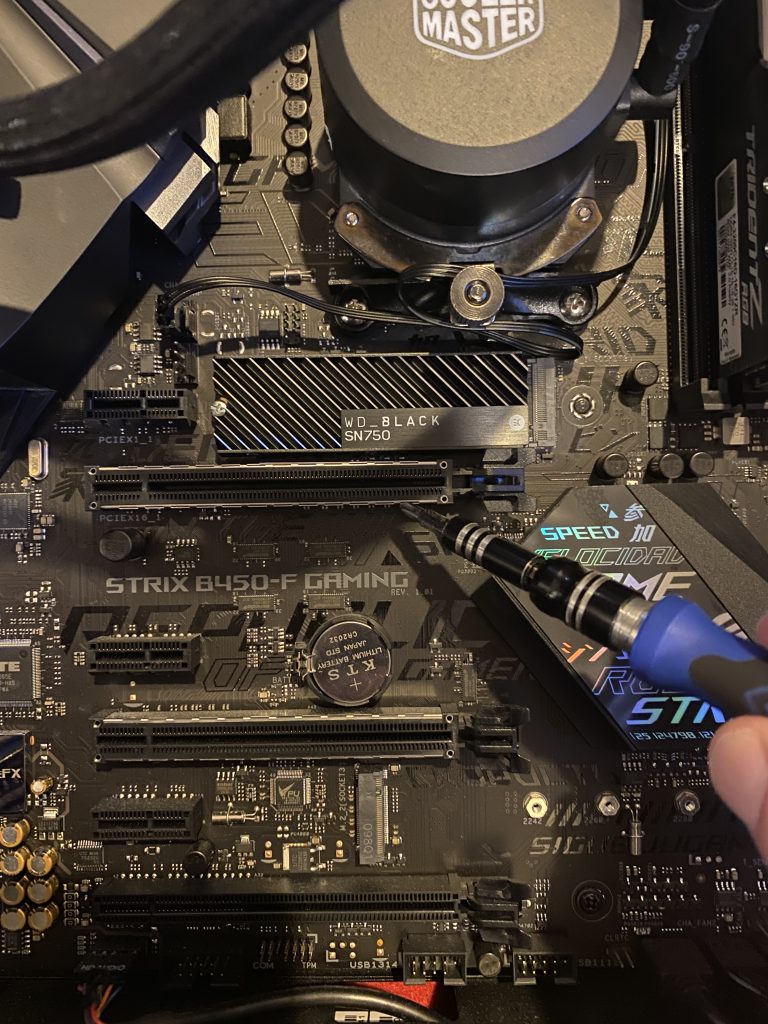
Installing the SSD is relatively simple. First, locate the correct spot on the motherboard. To accommodate different storage sizes, there will be a number of holes in a line on the motherboard. In the image above, note the three holes in a line at the center of the image. Also note the black rectangle above where my hand meets the screwdriver. This tiny port is where our storage will plug in!
Finally, just plug the SSD into that port and screw in the attached screw to the corresponding hole. SSD sizes are standardized, so your screw will automatically line up with one of the holes, in my case the farthest left.
4. GPU Installation
Finally we can install the biggest, priciest and most important part, the GPU! This is one of the easiest steps. First, locate the correct slot. This will be a large, horizontal slot on the bottom-left side of the motherboard. Your motherboard may have several such slots, but it is always best to use the highest slot available. Also, take the time to open the slot by moving the little plastic piece at the right end of the slot to the left.
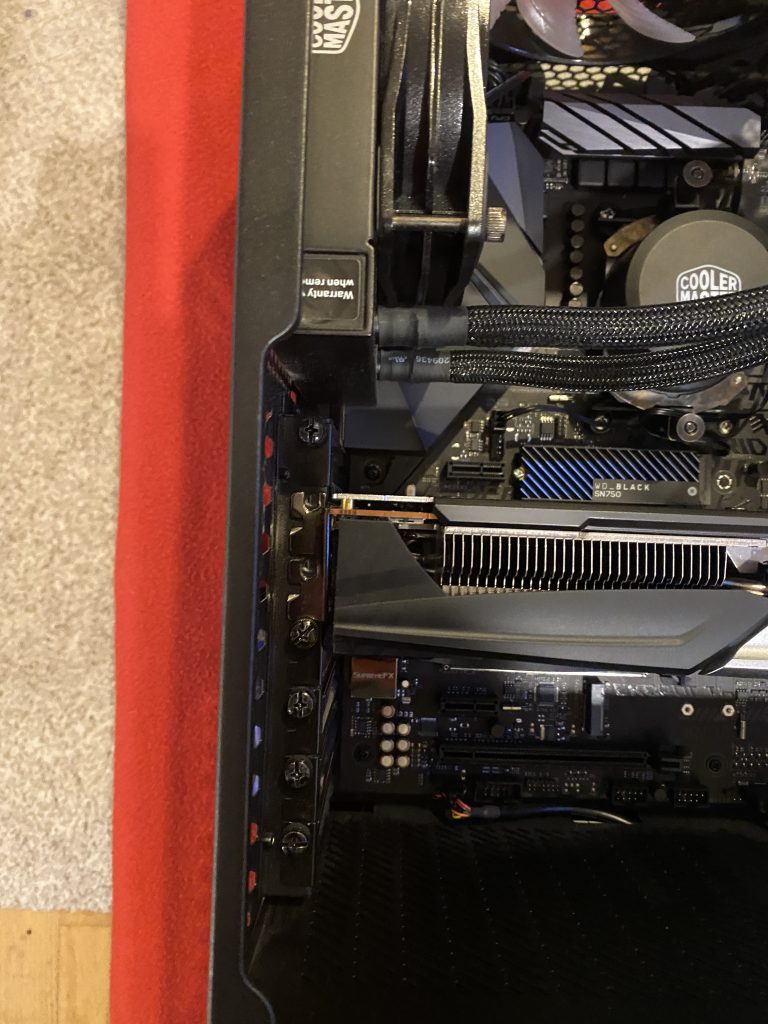
Gently slide the GPU into this slot, aligning the holes at the rear of the card to the holes in the case. One the card is seated in the slot, the little plastic piece we moved earlier will snap into place, and we can then secure the GPU using two screws at the back.
definition
Thermal paste is an incredibly conductive paste. It goes between the CPU and the CPU cooler to ensure an efficient transfer of heat