
2. Symbology: Change how the map looks
We will change the visual of the USA_48 layers using Symbology. You might notice an arbitrary, peculiar-looking polygon in the middle of the USA_48. It helps to compare how map projects present the conterminous US differently when we change the layer’s spatial reference.
1. Right-click the USA_48 layer, choose Symbology
2. In Primary symbology, choose Unique Values
3. In Field 1, choose STATE_ABBR
Now, we will differentiate the “peculiar-looking” polygon in the state layer from the rest of the state boundaries (heads-up, again: this polygon acts like a “shape-shifter” when we change map projections!). Click “More” in the Classes tab and choose “Remove all”:
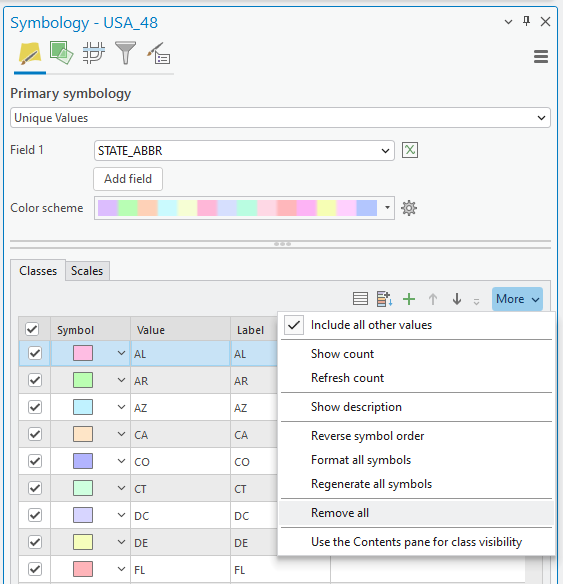
All state polygons disappeared. We will make it revisible with mono-color.
4. Click the More button again, then click “Include all other values.“:

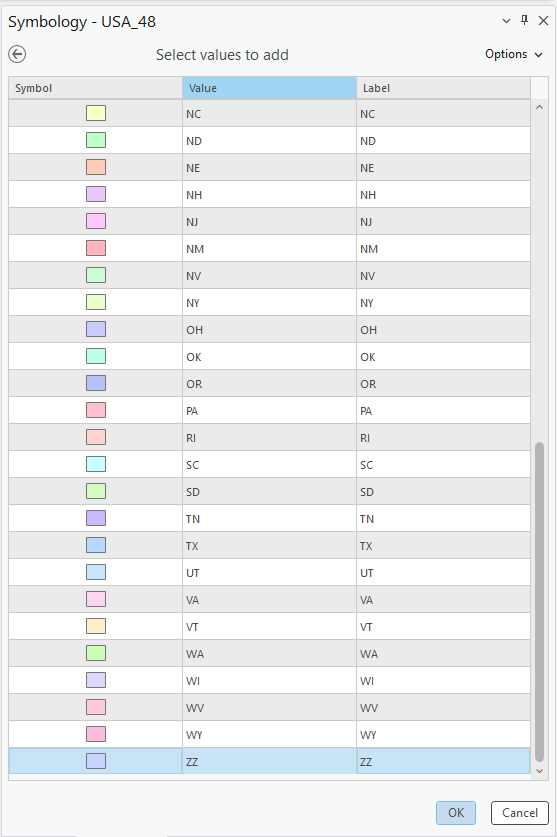
4. We will differentiate the “peculiar-looking” polygon using a contrasting color. Click the green-colored “+” icon, highlight ZZ at the bottom of the table, and click OK:
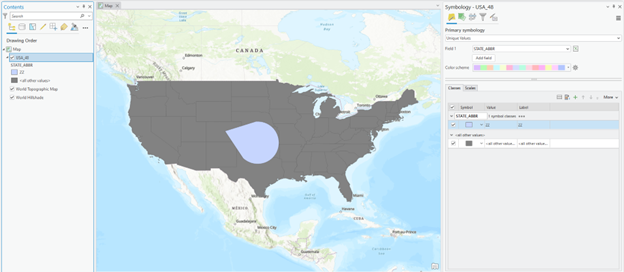
5. Your current map looks like the figure below:
Stop and clarify: Is it a GIS issue or a software issue?
Throughout the lab activities, you may wonder WHY we should follow the step-by-step instructions for WHAT. For example, you might want to ask what the goal of steps 1-5 so far is. I would answer that we are learning about how to use the ArcGIS Pro “software” to change the colors to make the layer more visually convincing.