Treatment Criteria
The material is a single-fold pamphlet. The condition of the paper is such that it can withstand being stitched into a binder.
Tools Needed
Awl
Needle
Materials Needed
Pamphlet Binder
Linen Thread
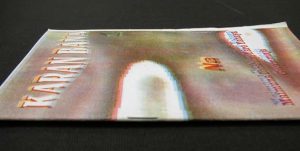 |
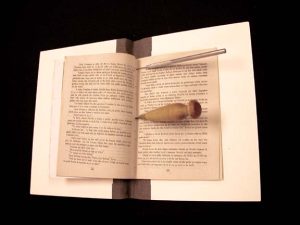
Here we have a typical example, a single-fold pamphlet, characterized by the staples through the spine. |
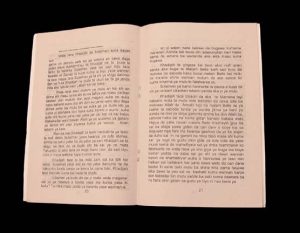 |
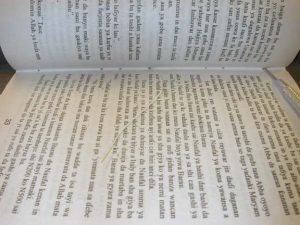
The pamphlet is opened to its center, where the staples are exposed. |
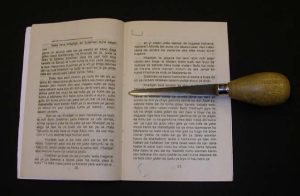 |
The staples are removed, using an oyster knife, as shown here, or with a microspatula. |
 |
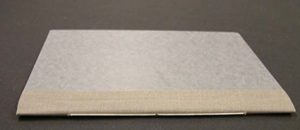
The pamphlet is placed in a binder of the nearest size larger in both length and width than the pamphlet. The pamphlet and binder are pierced at the spine with an awl or similar tool. It is sometimes handy to use two awls, to keep the work positioned and prevent it from shifting.
The number of holes is always some odd number, 3, 5, or 7, so there will be a center hole. The pamphlet we are binding is small, so we will use 3 holes. The path of the sewing for 3 holes is a figure -eight. Sewing starts inside at the center hole no matter how many holes. |
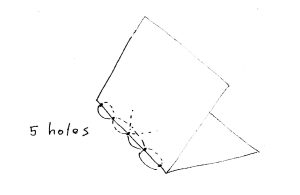 |
This is the path of the thread for 5-hole pamphlet sewing. |
 |
After threading the needle, the thread is cut off at a length approximately 2 ½ times that of the pamphlet. |
 |
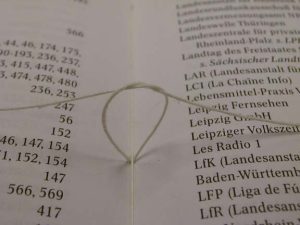
The pamphlet is placed in the binder and centered lengthwise. Stitching begins from the inside, going out through the center hole. A tail about 4 or 5 inches long is left on the inside. |
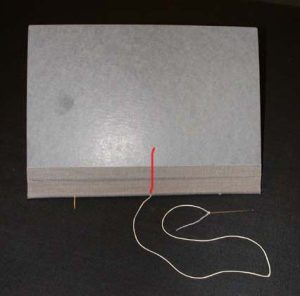 |
We will demonstrate the stitching, showing the parts of the thread that are not visible in red. |
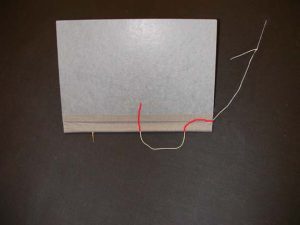 |
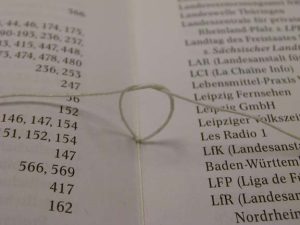
From the center hole, we go back in through either of the other holes. |
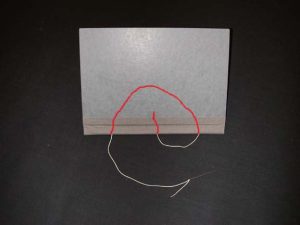 |
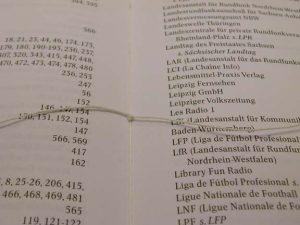
Now we skip the center hole and go to the far end and out that hole. |
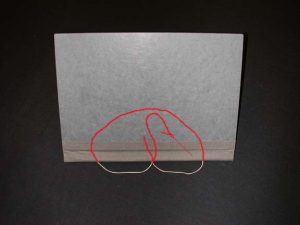 |
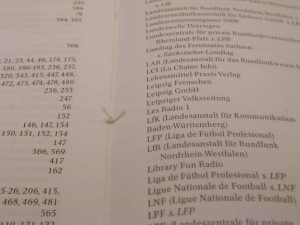
Last, we go back in through the center hole. |
 |
The inside view illustrates that the needle end and tail end straddle the center thread. This vertical stretch of thread in the center is from when we skipped the center hole while we were stitching.
Now all slack is pulled out of the thread and it is drawn up tight. This is to be checked carefully, both on the outside and (especially) on the inside. |
 |
A simple knot is tied in the the ends of the thread. |
 |
This knot is tightened down. |
 |
A second knot, identical to the first, is tied. |
 |
And it too is tightened down. |
 |
The two ends are trimmed to approximately ¼” to 3/8″ in length, and the binding is now complete. |
