Treatment Criteria
Candidates for this enclosure treatment include pamphlet-type materials that commonly fall into one of two categories:
- The pamphlet can not be bound by sewing or stapling, due to fragility of its paper.
- The pamphlet should not be bound by sewing or stapling, because it is desirable that the item not be altered.
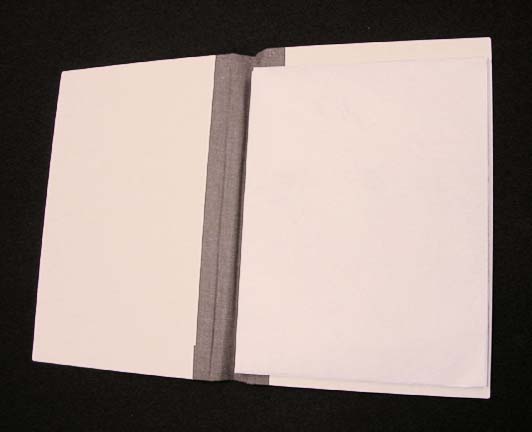
In the example shown here, the pamphlet is housed directly inside a pocket. A variation of the pamphlet with pocket includes a sleeve, which is an enhancement used for fragile and special items. The sleeve is cut from sturdy acid-free paper, such as Mohawk 80#, to the width of the pamphlet, and twice the height plus a couple of inches for a flap. The paper is folded so the fold sits at the bottom, and the flap is at the top. The sleeve provides additional protection from friction when inserting and removing the pamphlet from the envelope.
Tools Needed
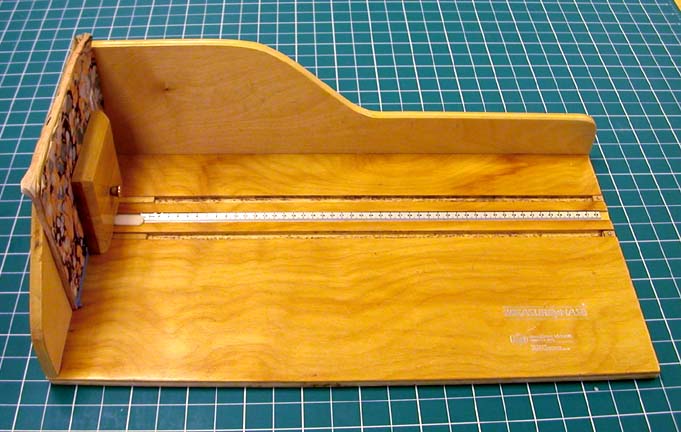
MEASUREpHASE
Utility Knife
Ruler
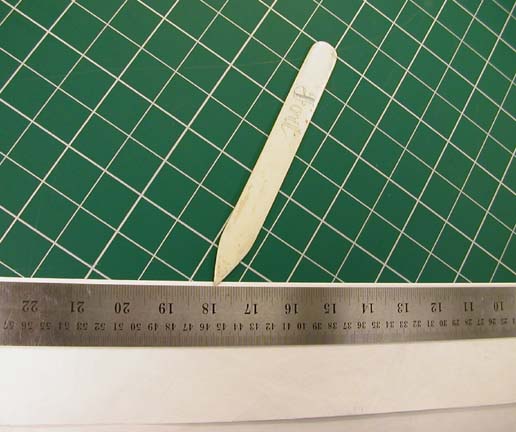
Bone Folder
Materials Needed
Tyvek
PVA Mixture or Double-sided tape
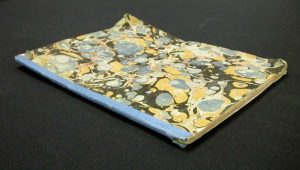 |
Our example is an 18th century pamphlet. |
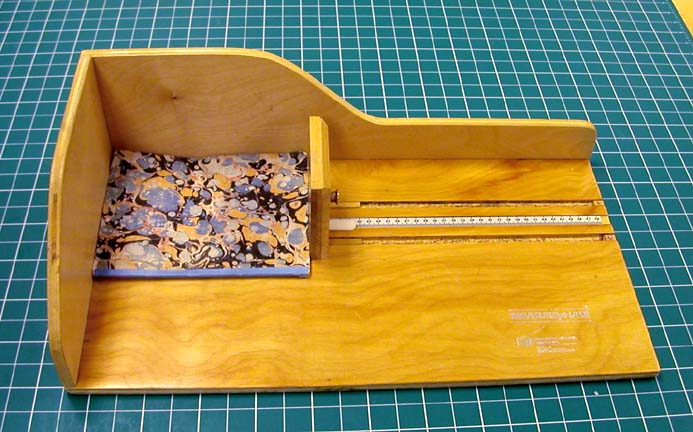 |
We begin by measuring the pamphlet in the MEASUREpHASE. First the length, |
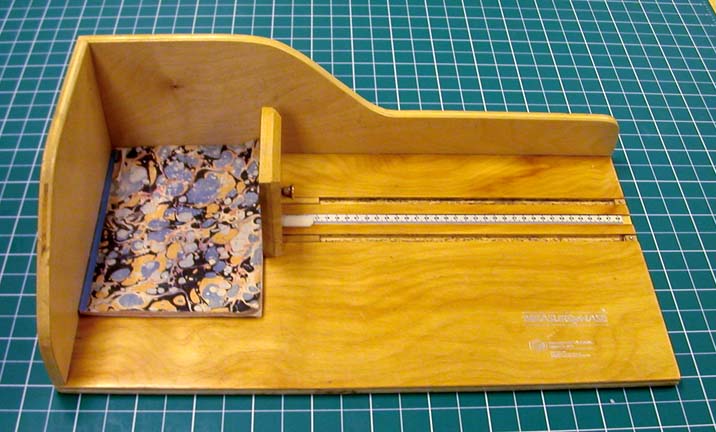 |
then the width, |
 |
and the thickness. |
 |
Several different styles of pockets can be made with a minimum of tools and materials. The illustrations and text given here show one variety used when the thickness of the material being housed is a bit greater than that which an envelope will accommodate.
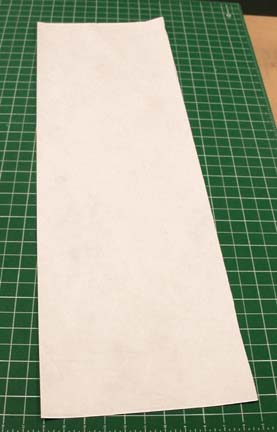
We will make the pocket from Tyvek. We need not be concerned with grain direction, as the fiber orientation of Tyvek is random and thus it has no grain. Its smooth surface offers very low friction, minimizing the wear imposed on materials in contact with it. Using the abbreviations L, W, and T to represent the length, width, and thickness of the pamphlet, the beginning dimensions of the piece need to be at least:
Length: 2.25L + 2T Width: W + 2T + 5 cm
So, to put it in numbers, we will say our material measures 20 cm long, 10 cm wide and .5 cm thick. The minimum dimensions of the piece we need would be 51 cm long by 16 cm wide:
Length: (2.25 x 20 cm = 45 cm) + (2 x .5 cm = 1.0 cm) = 51 cm Width: 10 cm + (2 x .5 cm = 1.0 cm) + 5 cm = 16 cm |
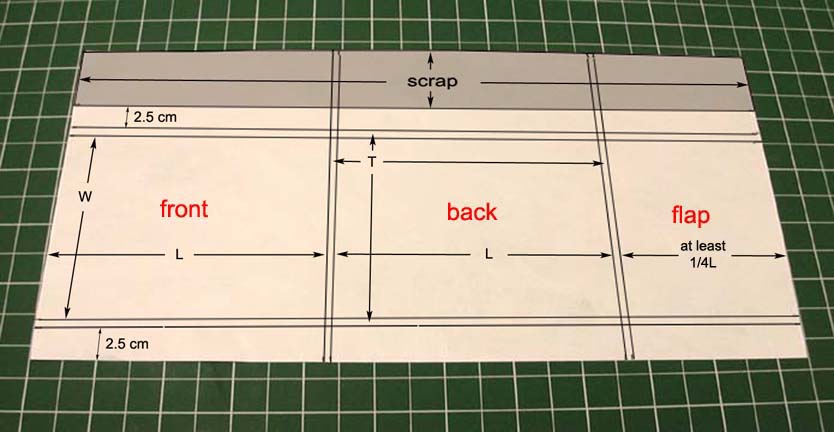 |
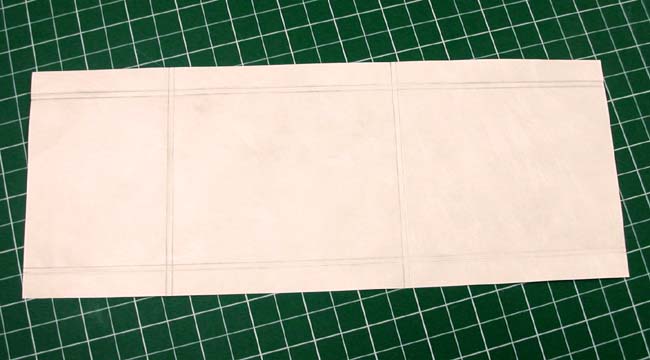
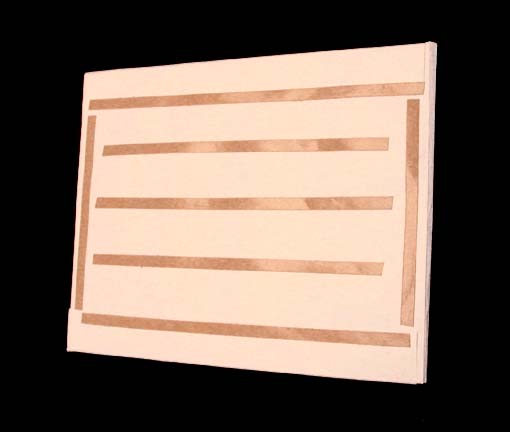
This illustration shows the layout of the Creases finished on the pocreases and the part of the pocket each panel will become. The shaded area represents the scrap thatwill be trimmed off the width. Lengthwise, the piece is marked at L, followed by T, another L, and another T. The length of the flap is excessive, but we can wait and trim it a few steps later. In the width, we mark at 2.5 cm, followed by T, then W, another T, and another 2.5 cm. |
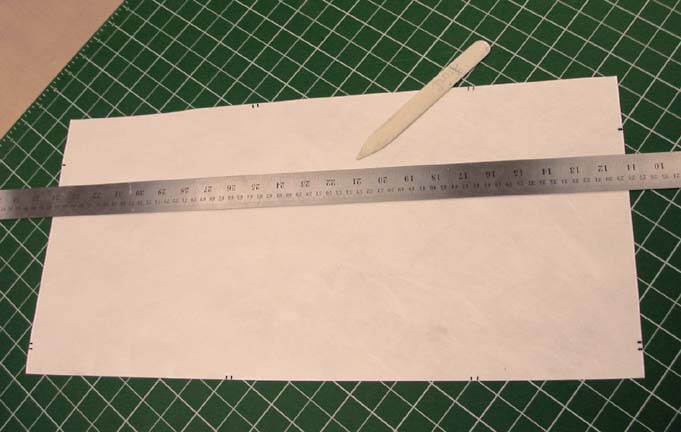 |
All creases are made, then the excess width is trimmed off. The creases are made with a bone folder, following a straight edge. |
 |
The Tyvek is folded over at each crease and the steel ruler is placed on top of it with just a bit showing out from under it along the edge. The ruler is held down firmly and a hard crease is made with the bone folder. |
 |
The creases are finished and the piece looks like this. |
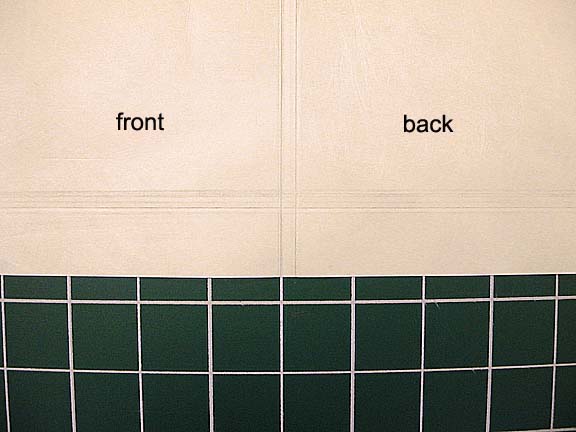 |
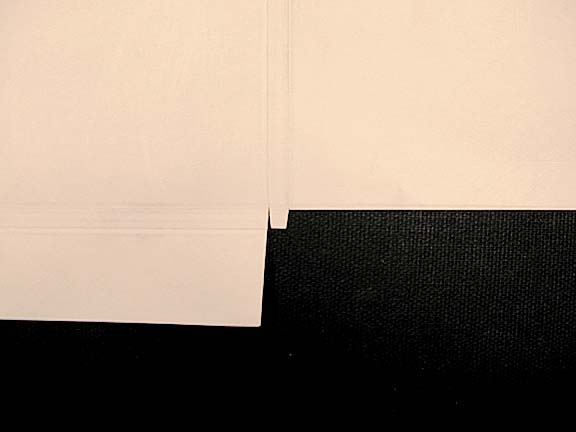
Now we trim the piece to final shape. We are at the junction of the front and back panels. (See previous illustration of creases and panels for bearings if necessary; orientation of all pertinent images are the same.) |
 |
The shaded area represents the material that will be trimmed away. A cut is made at the inner crease, running the entire length of the back and flap, all the way to the end of the piece. A cut is made at the right hand edge of the front panel, from the inner crease out to the edge. It is slightly angled in the direction shown. The thickness between the front and back panels is trimmed into a small tab as shown. |
 |
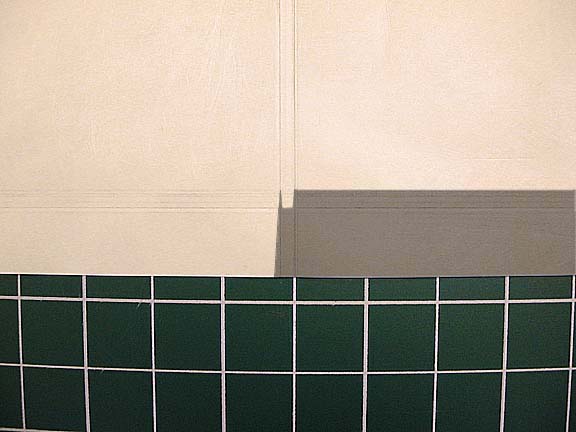
Here is the piece after actual cutting is done. The other side is trimmed in the same manner. |
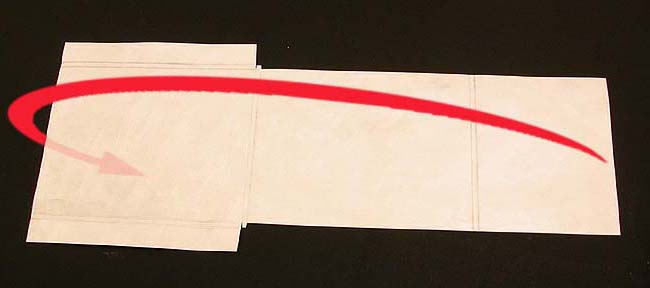 |
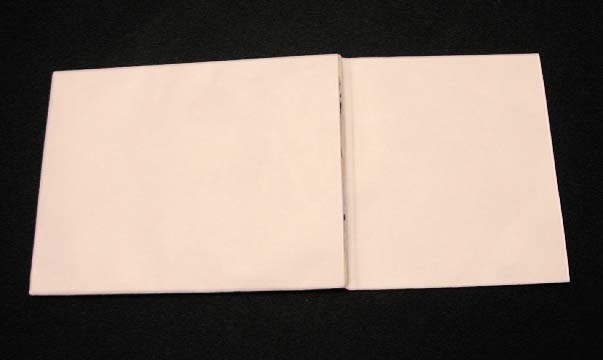
The piece is now folded over itself in the lengthwise direction so that the flap ends up on the bottom. The pamphlet will be situated on top of the front panel before this is done, but for the sake of illustration the piece is shown without it. |
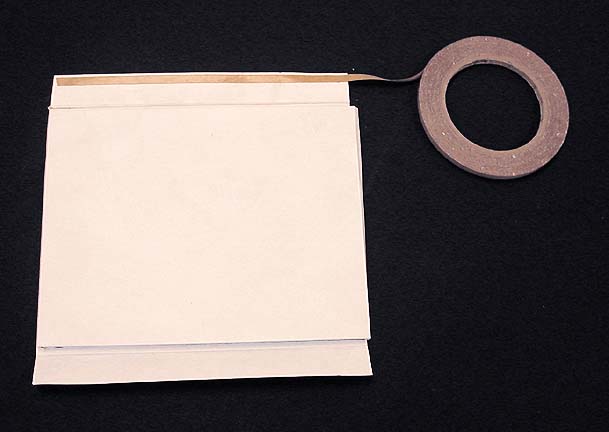 |
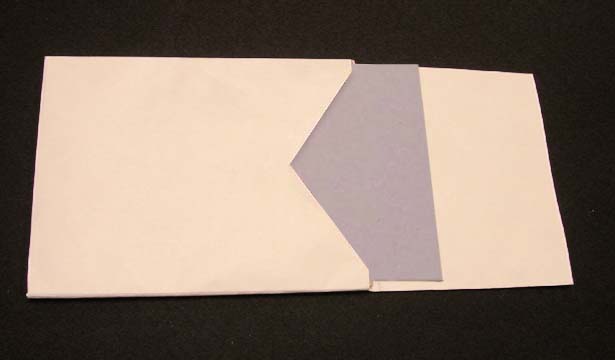
The pamphlet is now in the pocket. Adhesive is applied to the flaps on the sides; either PVA or double-sided tape, as shown. |
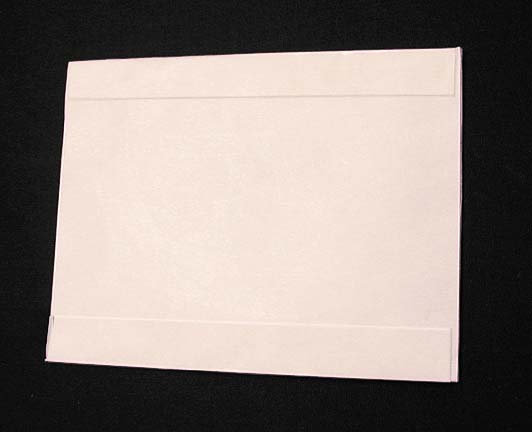 |
The flaps are folded over onto the back and fastened down. Again, the pamphlet needs to be in the pocket at this point, so the flaps can be fastened down in their proper locations. This is naturally more difficult to do if the pocket is empty. |
 |
The pocket is turned over so that the front side is up. |
 |
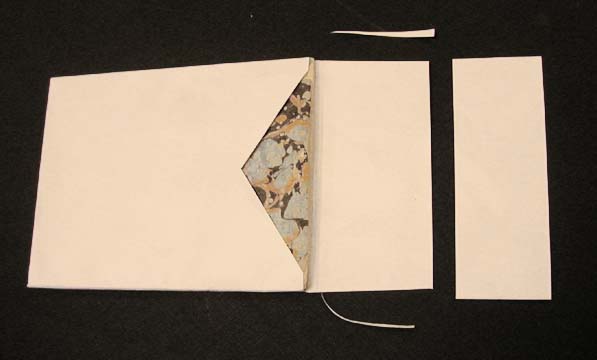
The pamphlet is removed and a piece of scrap board is put into its place to serve as a cutting mat. A notch is cut out of the front which will allow the pamphlet to be removed from the enclosure easily and without damage. The depth of this notch is not exact but should stop somewhere short of 1/4 the length of the pamphlet. Once this cut is made, the pamphlet is returned to the envelope. |
 |
The flap is now trimmed to about 1/4 the length of the pamphlet. It should cover the notch, plus a bit. The sides are trimmed to a slight inward angle. |
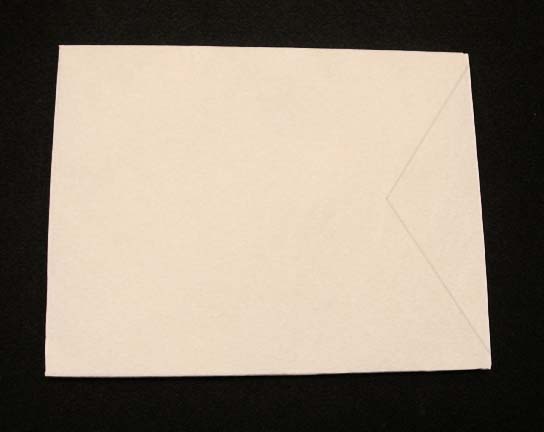 |
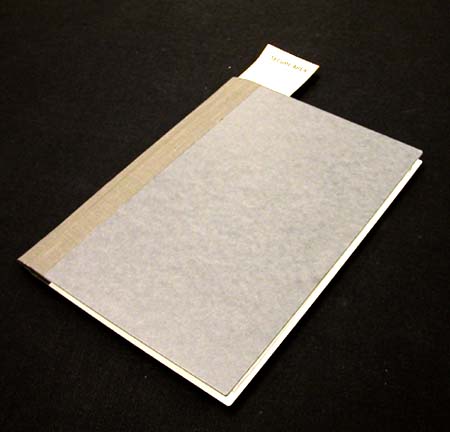
And here is the finished pocket with the flap tucked in. |
 |
Adhesive is applied to the back of the pocket. Again, we use double-sided tape. For economy, much less tape could be used – with strips only on the outer edges. |
 |
The pocket is now mounted into the binder, and the construction of the enclosure is finished.
If the pocket is being placed into a custom binder, the dimensions of the front and back boards are those of the pocket plus 6mm added to the length and 3 mm to the width:
L + 6 mm W + 3 mm |
 |
After applying or re-applying any labeling such as call number label or barcode, the pamphlet is ready to return to the collection. |
