2 ExamSoft Proctor Guide
The following guide will help prepare exam proctors for exam day. The proctor guide addresses the following frequently asked questions.
- How do I find the exam and the list of students taking the assessment?
- How can I make sure students have downloaded the exam?
- How can I make sure students have uploaded the exam?
- How can I give a student an extra exam download?
- How do I remove an exam download from a student’s PC?
- Where can I find the exam password?
- What do I do if there is a fire alarm or other situation where students must evacuate during an exam?
- What do I do if a student’s computer battery dies or the computer restarts during an exam?
- What do I do if a student’s computer displays an “Antivirus Warning” screen when attempting to open the exam?
1. How do I find the exam and the list of students taking the assessment?
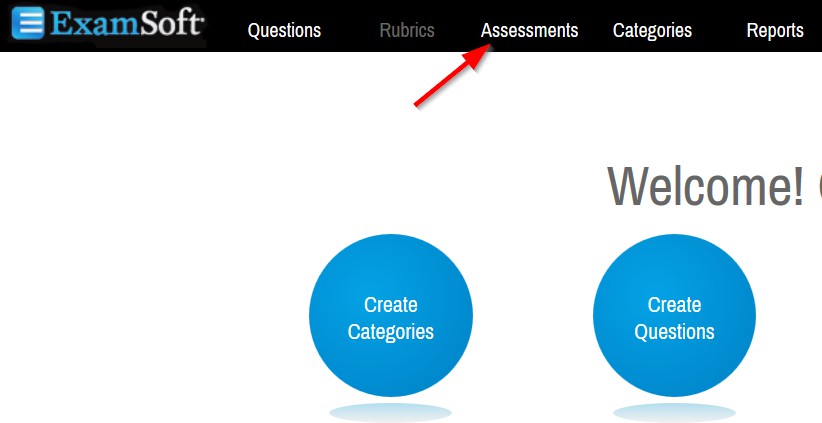
From the top menu in ExamSoft, select Assessments.


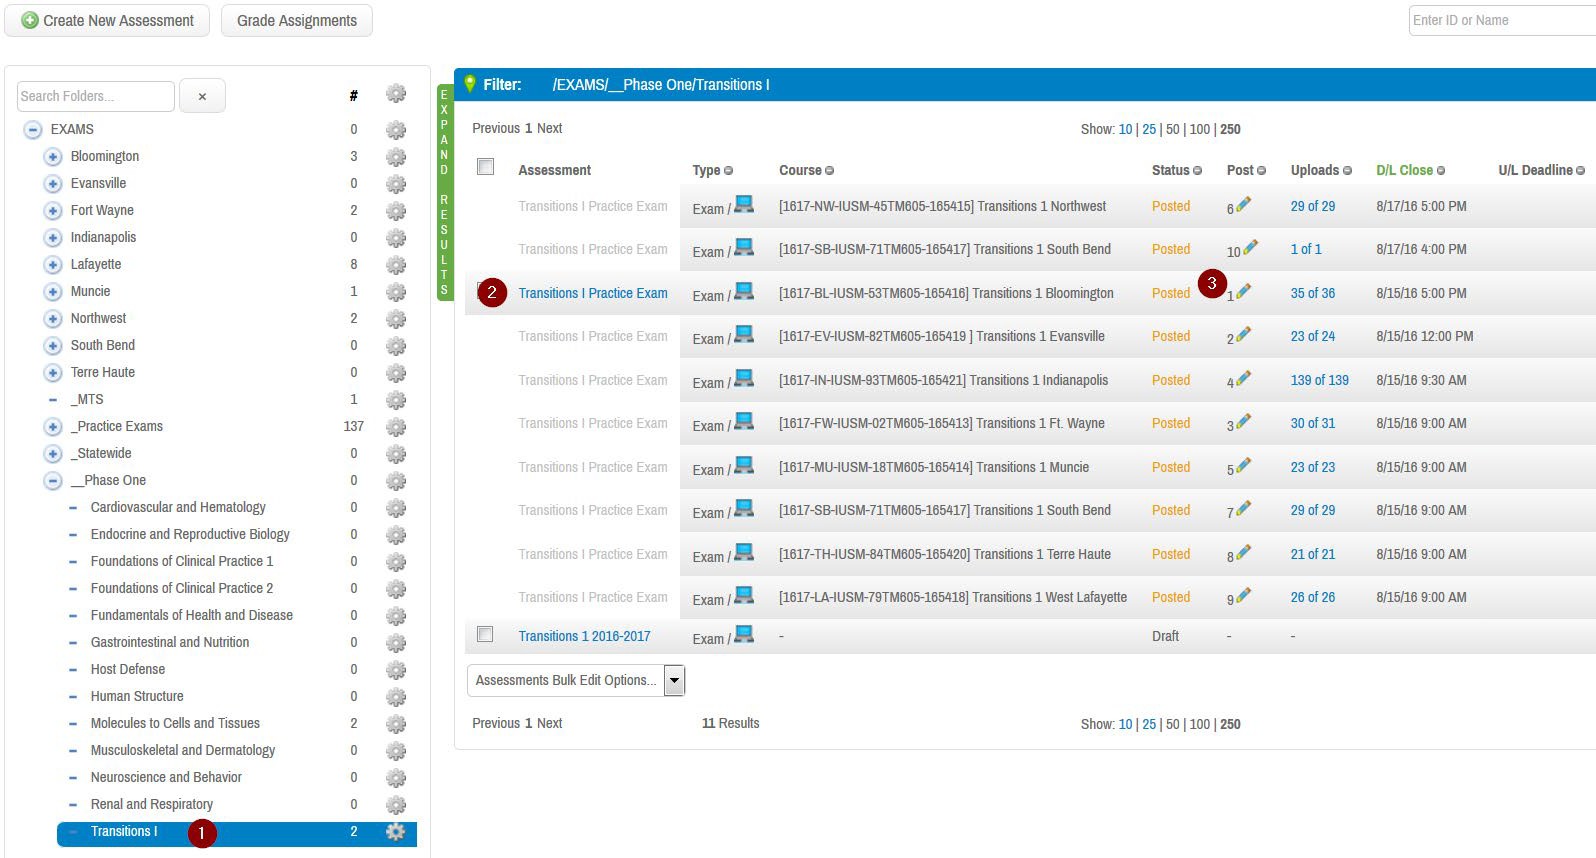
Select the course on the left of the screen (1). Select the exam title on the right of the screen (2). Note: You will always select the “number 1 posted” exam in the list, even if the title reads a different campus (3).
Select the Exam Taker Activity tab from the exam menu (1).

Select the All Postings dropdown and select your campus exam (1). Select the update button (2).

The students for your campus now appear (1).

2. How can I make sure students have downloaded the exam?
Use steps in question 1 to find Exam Taker Activity screen. From the Exam Taker Activity screen a number will be listed in the D/Ls column (1) that indicates the number of times the student has downloaded the exam. You can also see the last time the student downloaded the exam by looking at the Last D/L column (2).

3. How can I make sure students have uploaded the exam?
 Use steps in question 1 to find Exam Taker Activity screen. From the Exam Taker Activity screen a date and time stamp will be listed in the Upload Date column (1) that indicates when the student uploaded the exam. You can also see the exam file name by looking at the File Name column (2).
4. How can I give a student an extra exam download?
Use steps in question 1 to find Exam Taker Activity screen. From the Exam Taker Activity screen find the green arrow in the Max D/Ls column next to the student name
(1). Select the green arrow.

Increase the Max Downloads number by 1 (1). Select the Save button (2)

Note: If a second exam download is granted and used by the student, the previous exam download must be removed from the student’s PC. Please use the following steps to remove an unused exam download.
5. How do I remove an exam download from a student’s PC.
Go to the student’s PC. From the Dashboard/Home Screen in Examplify, select Remove Exam Download for selected exam (1).

Check the “Remove the exam download” box. Select the Remove Download button (1).

The exam has now been removed from student’s machine.
6. Where can I find the exam password?
From the top menu in ExamSoft, select Assessments.

Select the course on the left of the screen (1). Select the exam title on the right of the screen (2). Note: You will always select the “number 1 posted” exam in the list, even if the title reads a different campus (3).
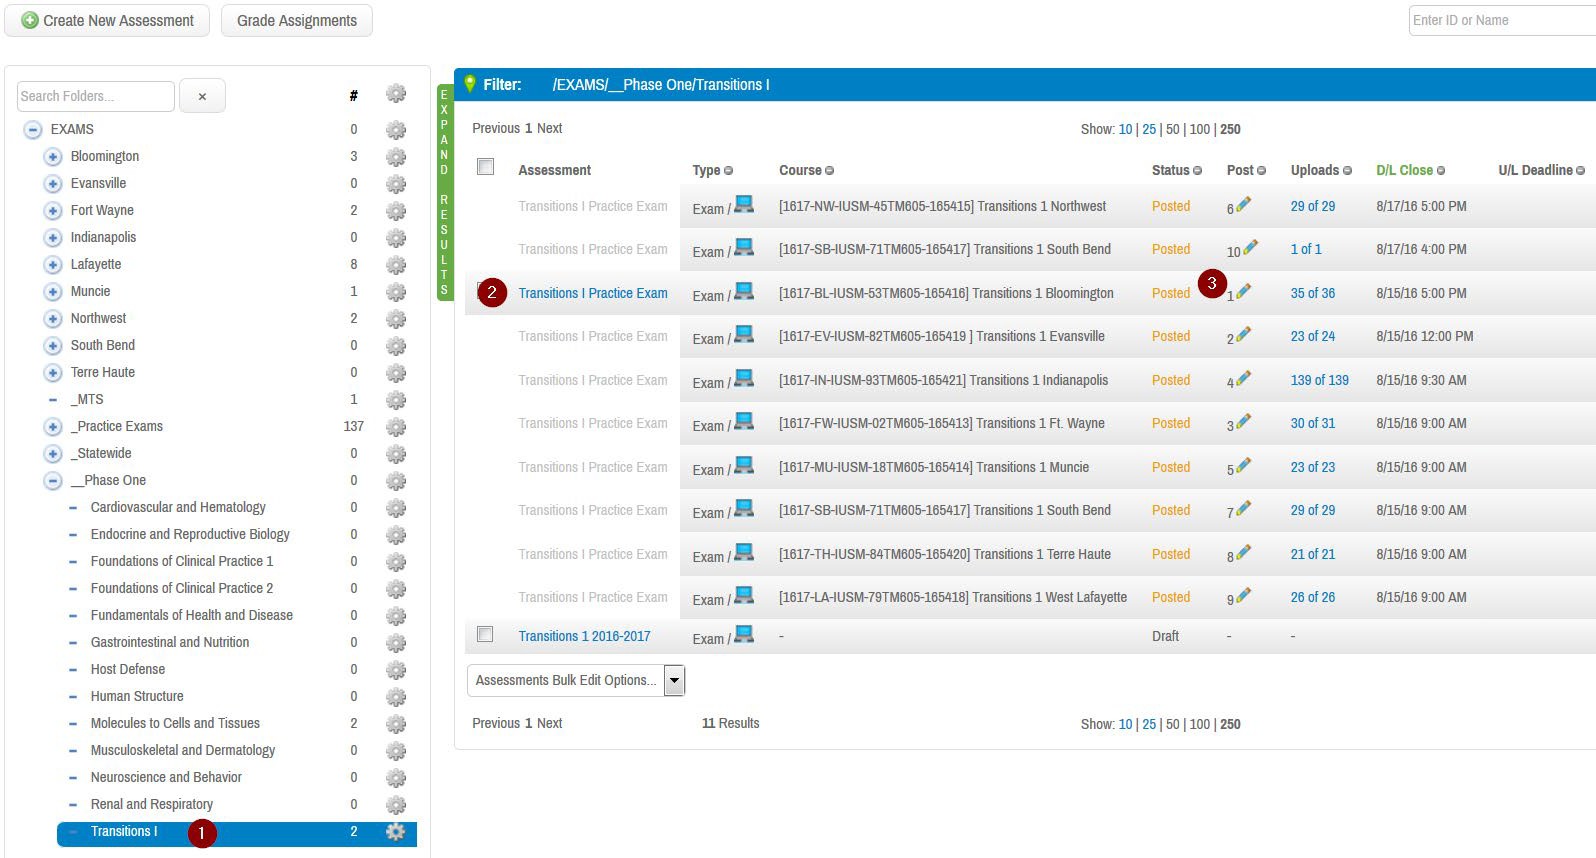
Scroll to the bottom of the Contents screen to view the exam postings. In the Assessment PW column (1), find the password for your exam. Note: You may need to scroll horizontally to the right to see the Assessment PW column. If the Assessment PW column is still not present, select the cog wheel (2) and add the Assessment PW column to the list.

7. What do I do if there is a fire alarm or other situation where students must evacuate during an exam?
Tell students to hold down on the power button until the computer shuts off and evacuate the room. Once the students have returned to the classroom, instruct them to start their computers and open Examplify. Examplify will open and require the universal resume code to continue the exam (1). Screenshot is student view.

To locate the universal resume code in ExamSoft, select Assessments from the menu.
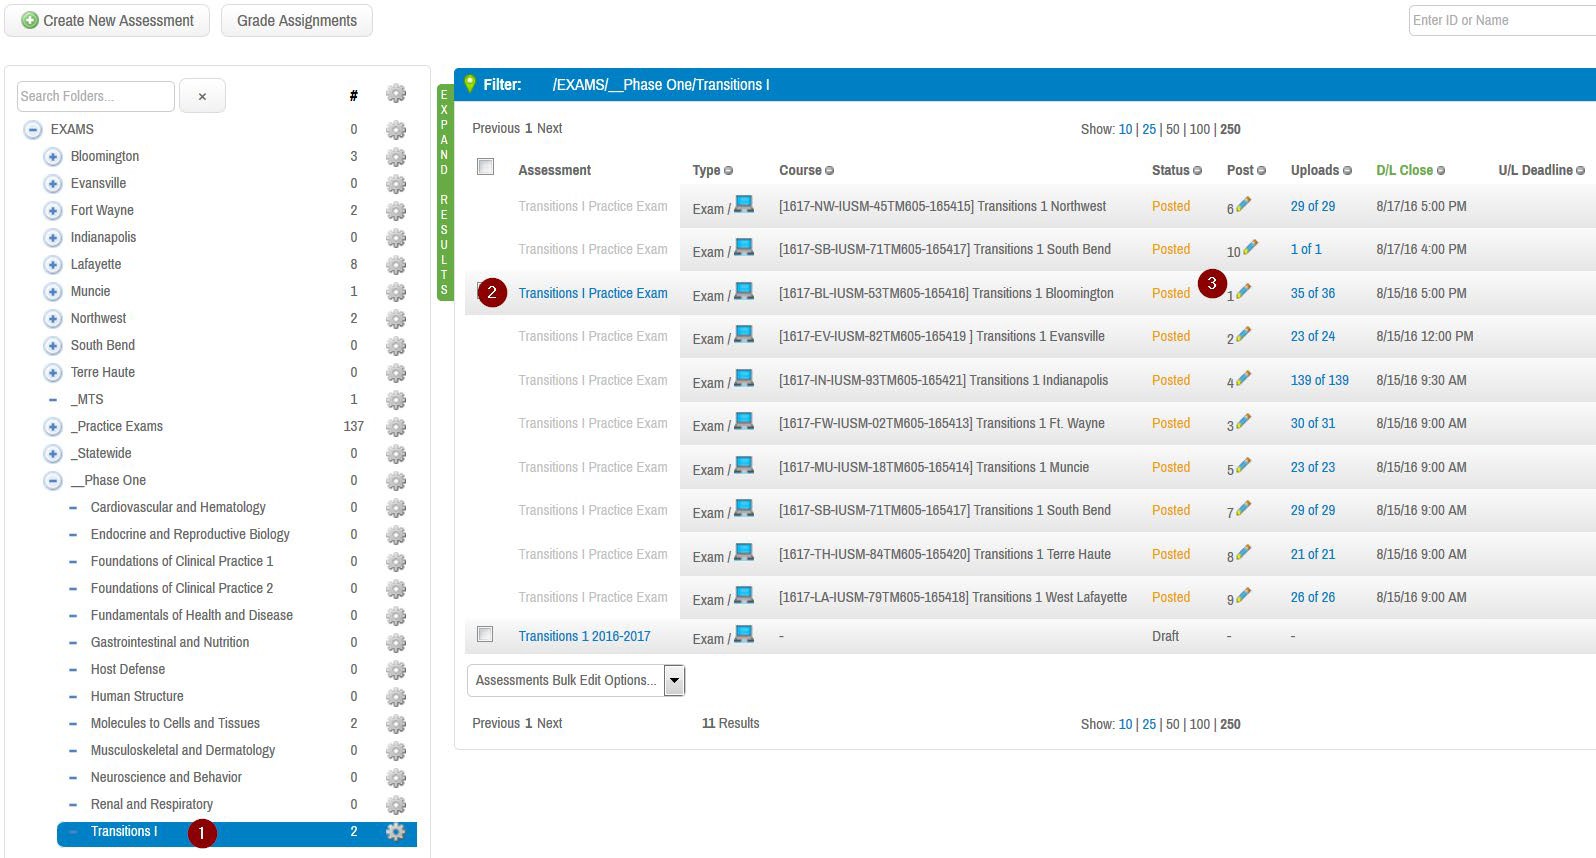
Select the course on the left of the screen (1). Select the exam title on the right of the screen (2). Note: You will always select the “number 1 posted” exam in the list, even if the title reads a different campus (3).
 The Universal Resume Code is located in the Security Options in the left side of the screen (1).
Students will enter the Universal Resume Code (1) and select the OK button. The exam will open to allow students to continue.

8. What do I do if a student’s computer battery dies or the computer restarts during an exam?
If a student’s computer shuts down or reboots during an exam you will need to provide and Individual Resume Code (1) that will allow the student to continue the exam. After the computer reboots, open Examplify. When Examplify opens the Resume Exam window appears. You will need to enter the students Continuation code
(2) in ExamSoft to generate the Individual Resume code.

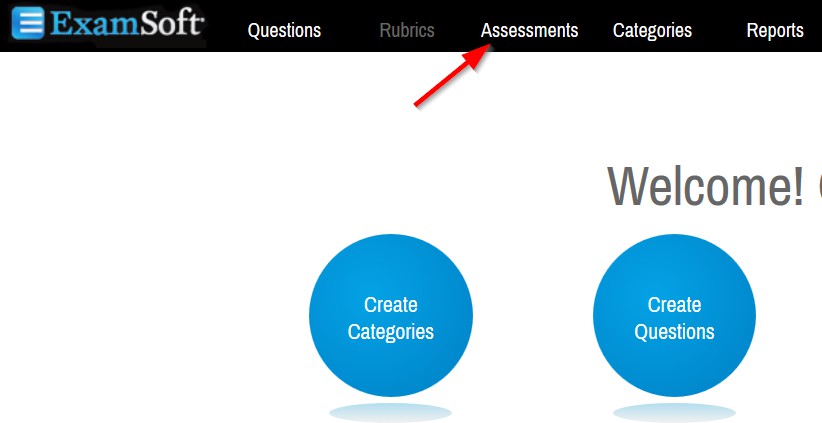
To generate the Individual Resume Code in ExamSoft, select Assessments from the menu.
Select the course on the left of the screen (1). Select the exam title on the right of the screen (2). Note: You will always select the “number 1 posted” exam in the list, even if the title reads a different campus (3).
Select the Exam Taker Activity tab from the exam menu (1).

On the Exam Taker Activity screen, enter the students Continuation Code in the Continuation Code box (1) and select Submit (2). A Resume Code is created (3).

Enter the generated Resume Code into the student’s computer (1) and select the OK
button (2). The exam will open to allow the student to continue.

9. What do I do if a student’s computer displays an “Antivirus Warning” screen when attempting to open the exam?
Select “Ignore”. If the student is unable to get past the “Antivirus Warning”, use the following guide for steps to disable the antivirus software on their machine. https://examsoft.force.com/emcommunity/s/article/Disabling-Anti-Virus-Software
After disabling, open Examplify to initiate & take exam.
