
8 Tables
Tables are a staple of data visualization. When you have large amounts of information, information you want to compare and contrast, or just information that needs to be organized, tables can help. They aren’t hard to code, but they do require some precision. We’re going to code this table, with the cook times for three types of pasta:
| Pasta | Cook time |
| Ravioli | 4-9 minutes |
| Spaghetti | 8-12 minutes |
| Penne | 10-13 minutes |
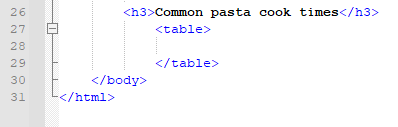
First, we need to tell the HTML that we are making a table. We do this with the <table> element. This goes above and below the entire table, to tell the code where the table begins and ends:
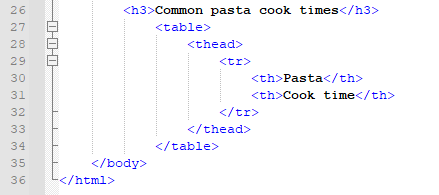
Now, we code the table row by row. The first row in our table shows the column titles, “Pasta” and “Cook time.” This is the “header” row. To designate this, we use the <thead> element. Additionally, we’ll wrap each row in a <tr> element. Because the first row are column headers, we’ll use the tag <th> around the content. This will visually set them apart by automatically making them bold without the <strong> tag. So our first row looks like this:
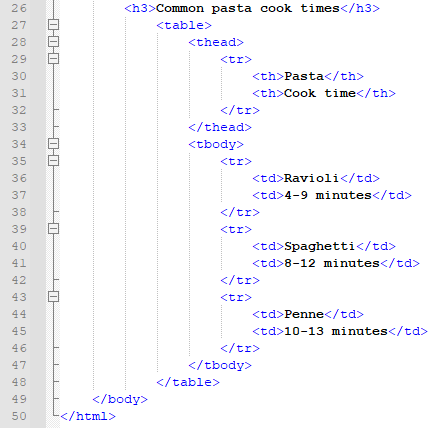
Next, we’ll code the additional cells. We’re in the body of the table now, so we use the <tbody> element to denote that. Remember, we’ll go row by row using the <tr> element to tell the code where a row begins and ends. Because the data in the table should be separate from the headers, we use the <td> element. This means that data will not be bold. The entire code for the rest of the table looks like this:
And here’s what it looks like on the live page:
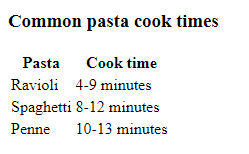
The table is basic, with no cell dividers or shading. And you might notice that the header row is automatically centered while the following rows are left-aligned, which looks odd. You could fix this issue and add some style to the table using CSS, but we won’t be covering that part of CSS in this book; that’s a bit more advanced. If you are interested in learning that, this site does a good job of explaining the procedure.
Let’s move on to the last lesson for the HTML section of this course: adding links.