
Using ChemCollective Virtual Labs
Yu Kay Law
While many different types of virtual labs can be found, in this course you will largely be using the ChemCollective series of virtual labs. When you access the experiment interface, you will see the following interface:
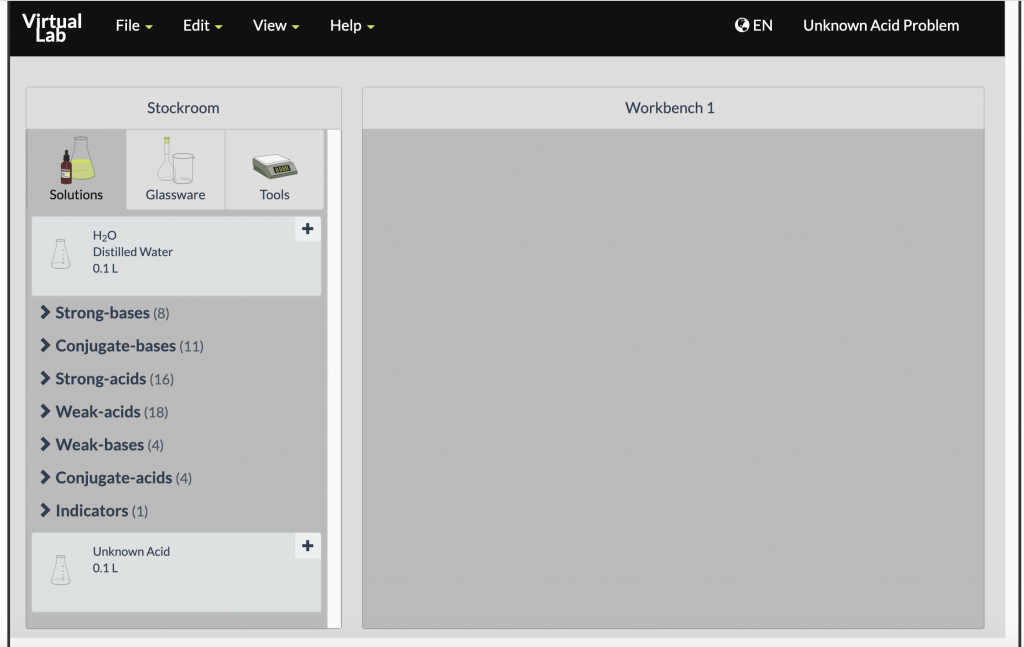
For the purpose of this lab, the “workbench” is your entire lab bench.
Obtaining Lab Materials
Materials for each experiment can be found in the stockroom under one of the three tabs. When you click on the material desired, a container/copy/whatever of the equipment or reagent will appear on your workbench.
Transferring Materials
To transfer lab materials (e.g. transferring a solution)
- Make sure the container/device and the reagent to be added are both on the workbench.
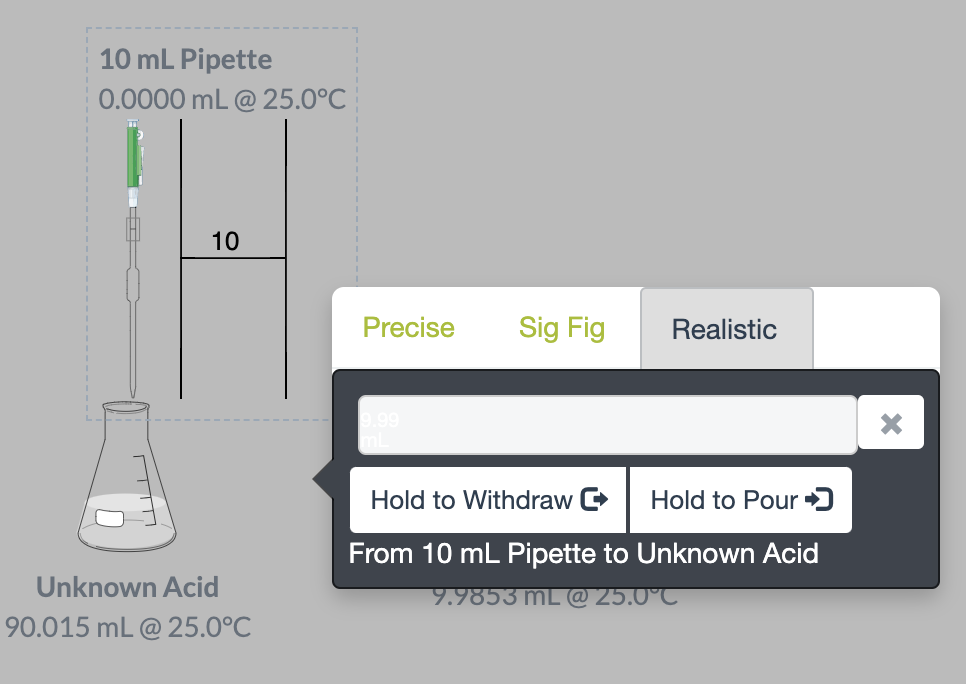
- Select the device or container that is above the other one, and overlay that on the other container/device. When you do this, the equipment will be overlaid in a manner that signifies that one is above the other, as illustrated in the example on the right.
- For most, there are three different modes. For the purpose of lab, use the “realistic” transfer mode and use the “Hold to Withdraw” and “Hold to Pour” buttons to control pipets and burets. Other modes are available depending on the media involved.
Viewing Properties
To view the properties of a solution in a container (e.g. to check its pH), click on the container and it will display (much more information than what you would normally find in lab).
Clearing Up After Mistakes
The good thing about simulations: it’s not a big deal if you make a mistake!
- You can right click on anything on the workbench, and either remove the contents or the entire container.
- Under the Edit menu, there is an option to clear the workbench.
For More Information
A video walkthrough of the ChemCollective Virtual Lab is provided below by the producers of the platform: