
Part 3: Developing a Welcoming Course
Organizing Your Course to Support Student Success
If you’re used to walking into a classroom and starting where you left off from the last class with only a general plan of what you want to do that day, putting an online class together can be challenging. There is a level of organization, detail, and consistency needed that may not be there in your in-person classes.
As we said in the Breaking Down Learning Blockers chapter, usability is about the experience. You may have wonderful materials and assignments and activities, but if your students can’t easily navigate the course to find everything it reduces both the learning experience and the cognitive energy they have to learn.
There are three things that will help improve your course usability.
- Think about your course in weeks – not class meetings
- Use the Canvas Modules tool to organize the course
- Streamline your Canvas site navigation
Think about your course in weeks
As we mentioned in the very first chapter, in an asynchronous online course you no longer have to think of your course in terms of 10:00-10:50 MWF or 1:00-2:30 TR blocks. However, your students still need the structure of deadlines even if they’re not “at the beginning of class on Tuesday.” The easiest way to organize things for everyone concerned is in weeks. Thinking through questions like the following can help with that organization.
- What do you want to accomplish in a given week?
- What do you want your students to learn and do that week?
- What do you want them to turn in?
- What will you have to grade?
The point is that both you and your students can plan a week of work at a time. There are two critical parts to this. The first is that your due dates are always the same day of the week. Once you choose your due dates, the best thing you can do for your students is to implement it as consistently as possible. Like in-person students who get in the habit of going to class at the same time and the same place every week, online students need to form those same habits to maintain consistent performance across the semester.
The second is when you start and end your weeks. Don’t start your week Monday morning and end it Sunday night if you don’t plan on answering student email on Sunday. Given their other responsibilities and the situations they may be in, a lot of their work may happen on the weekend. If you start your week on Tuesday morning and end it the following Monday night you have Monday to answer questions and address concerns. Starting the week on Wednesday is a nice plan if you are using weekly discussions. The initial post can be due Saturday with the follow-up conversation happening Sunday-Tuesday. This gives students a weekend day to compose their original thoughts and another weekend day to participate in the conversation.
Use the Canvas Modules Tool to Organize Your Course
One of the most helpful things you can do both for yourself and your students is to organize your instructional materials, assignments, activities, basically everything in your course, in the Canvas Modules tool. Once you have your course organized in weeks, you can use one module per week to present what you want your students to do that week in the order you want them to do these things. 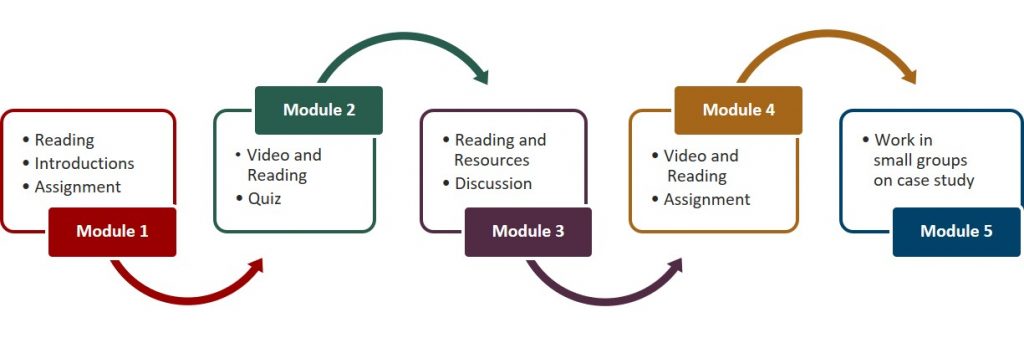
The key element in each module is the module overview page. The module overview page lays out what is happening that week and what students are to read, watch, and do. Yes, that may all be in the syllabus, but it’s immensely helpful to have everything you need in one place. Searching through multiple documents and locations for things takes valuable time and cognitive energy that they then can’t use for learning. If you are using the Summer 2020 Template, you have a module overview page template already in your course.
While you may have multiple things that you want students to read and watch, there is no need to put all of them in the module as individual module items. Longer modules with more than 4-5 items can appear overwhelming to students and potentially reduce motivation. Link your readings and other resources on the module overview page with a description of what the item is and what the students are to pay attention to when they follow that link. This type of annotation helps focus students’ attention on what you think is important in the article, website, video, etc. which can improve learning.
Please note that, even if you publish all the items in a module, students will still not see the module until you publish the module itself. Modules and module items are only visible to students if the green “published” checkmark is showing to the right of the module and module item name.
Please see Using Modules for Organization in the Canvas Semester Guide for an overview of Modules and instructions for setting them up.
Streamline your Canvas Site Navigation
A very important benefit of the Modules tool is that, by organizing all your content, assignments, quizzes/tests, discussions, etc. in Modules, you can hide the Assignments, Quizzes, Discussions, Pages, and Files tools in the left navigation list from student view. This gives students one and only one place to look for everything. That means fewer “where is ____?” questions for you and less time spent searching for things for your students. Usability is also improved by hiding all the other navigation items that you are not using. You can disable things like the Chat tool, the Course Questionnaire (if your school isn’t using it), and items that may have been copied over from a previous semester such as the IU Indianapolis Syllabus Supplement, which is now in the Canvas Syllabus tool.
Please see Streamlining your Site Navigation in the Canvas Semester Guide for instructions.
