
9 Editing Course Listings
Edit course listings
In the top section of the Details tab, you can control how the course appears in the IU Expand catalog.
As you fill in information about your course, you will see these changes automatically update in the Preview space on the right side of the screen. The Preview shows the dashboard card view of your course that is displayed to users in the IU Expand main catalog.
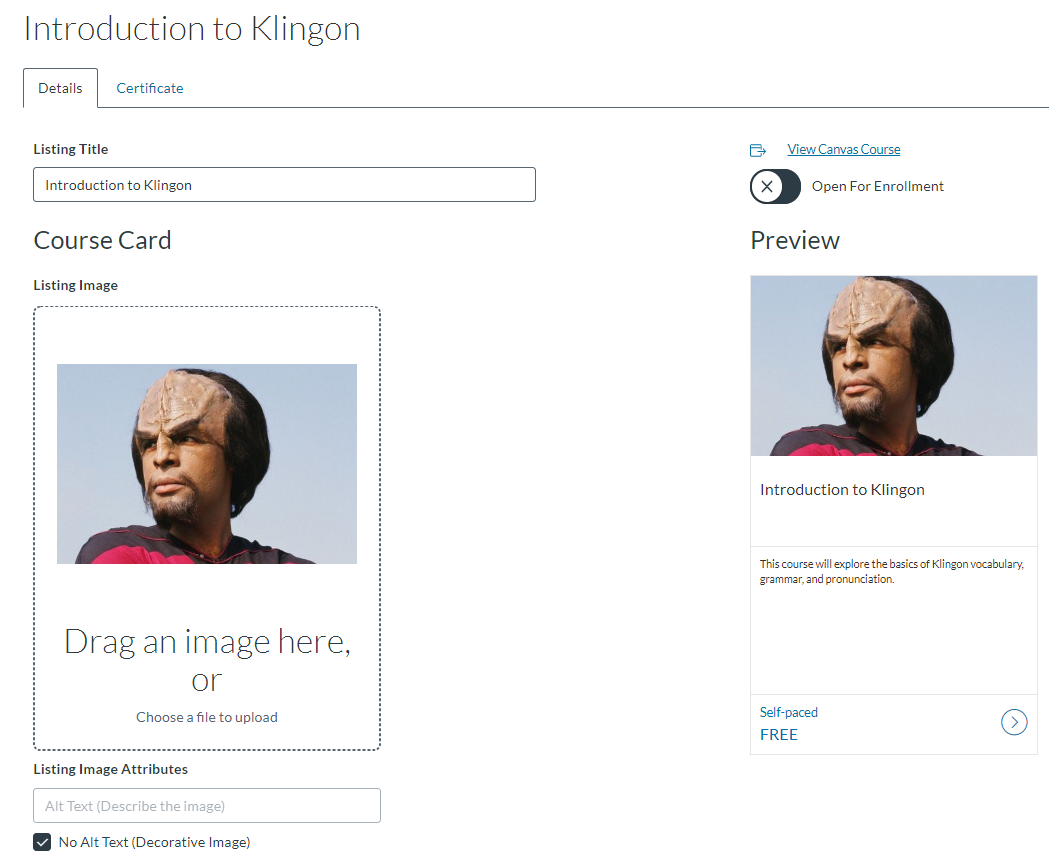
Listing Title
Use this to title your course. Here are a few requirements for course titles in IU Expand:
- Spell out acronyms whenever possible. If the spelling is too long, use the acronym, but spell it out in the teaser to quickly assist non-IU audiences in determining whether they want to take your offering.
- Avoid stating your school, location, or other redundant information in the title.
- If possible, include any major search terms in either the Title or Description (further down) of the listing.

Listing Image
Upload an image to use as the dashboard card for your course in the Expand catalog. For best results, the image should be 768 pixels high and 1050 pixels wide. Supported formats: PNG, JPG, GIF, and SVG
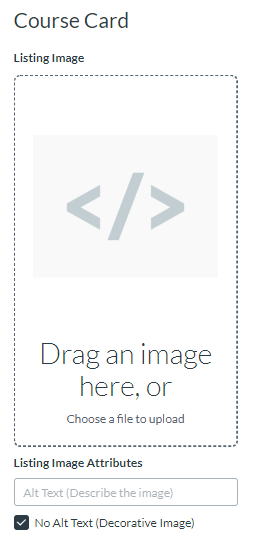
Image Tips
- Choose a clean, simple image that is representative of your offering.
- If your image is descriptive rather than decorative, add Alt Text.
- If you are offering a series of similar courses, consider using the Expand “program” option to organize your series or use the same image for courses in the series.
Listing Image Attributes
Use this field to provide an alt-text description of your Listing Image.
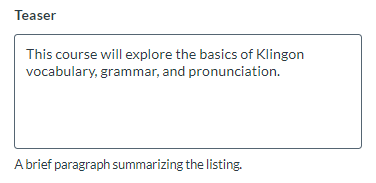
Teaser
Use this field to provide a brief summary of the course. This text is displayed on the dashboard card view of your course in the IU Expand catalog. It is highly recommended that you limit your teaser to 40 words. Descriptions that do not fit will automatically convert the remaining text into an ellipsis.
The dates that appear at the bottom of the dashboard view of the course are pulled from the dates entered into the Settings area of the Canvas course.
Pro Tip: In general, for courses that will not renew at specified increments of time (i.e. quarterly/annually), we suggest you enter a Term of “No Expiration Date” and remove all Start and End dates from the Canvas course Settings area.
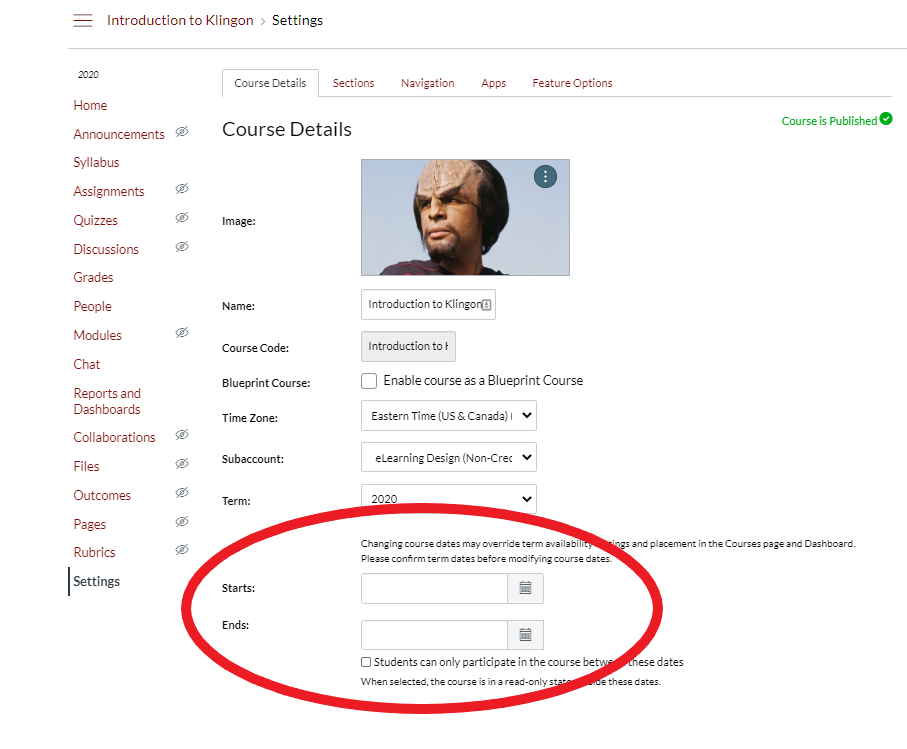 Removing the dates in this area will make the listing read as “Self-Paced”.
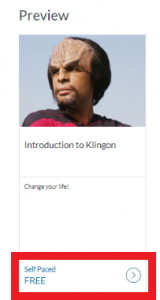
Days to Complete
If you leave this field blank, it will automatically display as “Self-Paced”. If you want to limit the number of days the course is available to students, include that number here.
Note: If you utilize the Days to Complete field, each learner will be placed in their own individual section of the Canvas course. If you later remove this requirement, the system will reflect the learner as having dropped the course, even if they are still technically in the course and can still access the course materials. In short, don’t use this field unless you have a specific need for it.
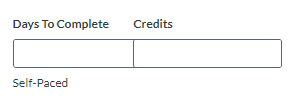
Credits
Use this field if your course is being offered for a specific number of Continuing Education (CE) credits.
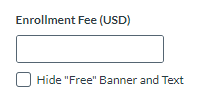
Enrollment Fee
Use this space to indicate the cost of enrollment in the course. The minimum cost is $10.
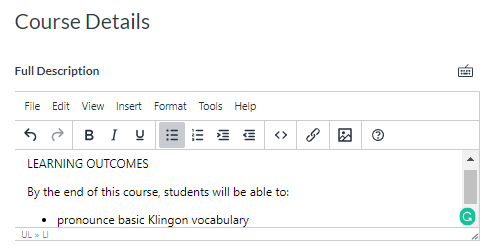
Course Details
All courses in Expand are required to display the following information:
- About the Course
- Course Objectives
- Instructor Bio
- Instructor Image
- Length
- Department
- Audience
- Contact information (email or phone to contact for course-related questions)
- Technology requirements (if applicable)
Catalog
Use this drop-down field to select the appropriate catalog for your course
Section
If there are multiple sections of the course in Canvas, use this drop-down to select the section you want Expand users added to.
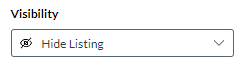
Visibility
Use the drop-down menu to select the visibility for your course. There are three options: Hide Listing, Show Listing, URL Only
- Hide Listing – Use this setting if you do not want the course to appear in searches or via the direct URL link
- Show Listing – Use this setting to make sure the course appears in the catalog and catalog searches
- URL Only – Use this setting if you want the course to be available to users who have the URL and you do not want the course to appear in search results
List Order
Use this field if there are multiple courses in your catalog to determine the order in which they appear on your catalog page.
Listing Path
Type in a short title for your course (with no spaces) to create the course listing path. The listing path will automatically begin with your subcatalog title.
Click on the Copy URL button to copy the direct link to the course enrollment page for this course in Expand. This is the URL link you will provide users if you selected the URL Only option under course Visibility

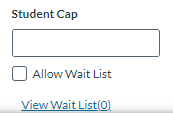
Student Cap
Use this field to limit the number of students who can enroll in the course
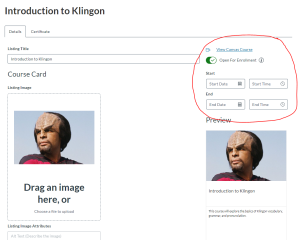
Open for Enrollment / Close Enrollment Date Presets
If you would like to schedule a specific date for the course to open for enrollment or close enrollment, you may enter it above the preview window. Once your course has been approved via our compliance inspection (see below), these enrollment date settings will go into effect.
Submit to IU Online for Compliance Check
The Open for Enrollment toggle will be greyed out and disabled, rendering it inaccessible to admins until the IU Expand team has had a chance to review the listing for compliance and completeness.
Once you’ve completed your course listing and clicked “Save” at the bottom of the page, you will see a bright blue box appear at the top of the IU Expand listing, asking that they attest that their course meets Level 1 or Level 2 standards and follows all accessibility standards. Follow the hyperlinks for a refresher on Level 1 and Level 2 IU Expand listing standards, as well as our accessibility standards.

Once you have checked the attestation box and clicked the Request Review button, the request will be routed to the IU Expand team. You will receive an email message confirming that your request has been sent. When you return to the IU Expand listing page, you will see a notice stating that the listing is pending approval.
The IU Expand team will review requests within one to two business days. Once the course listing has been reviewed, the IU Expand team will reach out if any changes need to be made before the listing is opened for enrollment. If there are no items to address, the listing will be approved, and the admin will be notified that the course is ready to open for enrollment. The toggle switch will then be unlocked, and the admin can log in and switch the listing to Open for Enrollment.